Tuesday, September 27, 2011

Flag nails!!

Hello again!

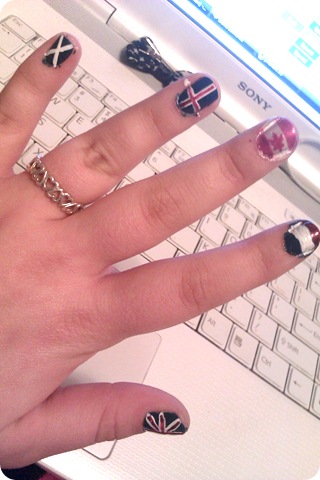
I just thought I’d put up a quick update, since I bought a few paint brushes a couple days ago to do nail art with! As my first test of them, I decided I would continue with the theme started with my British flag nail, and do my left hand’s nails in the flags of my heritage:

IMAG1667

Starting with my pinky, the flags are: Scotland, Iceland, Canada, France, and Britain. If I had a sixth finger I could have done Denmark as well, but to be honest, I’d completely forgotten about that one anyways. So yeah, I’m very impressed with how they turned out, especially Iceland, which is very neat, and Canada, which is hard, what with the stupid maple leaf…!

If you were going to do your nails with flags of your background, which flags would you have to paint?

Sunday, September 25, 2011

Union Jack Nail Art

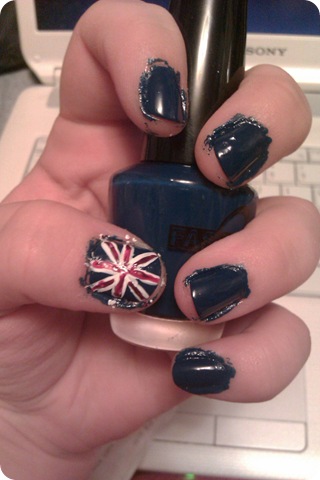
This is just a quick post to show you the British flag nail I just did. It’s a bit messy, partly because I don’t have the right tools, and partly because I am planning to get some brushes tomorrow, so I don’t expect these nails to last very long!

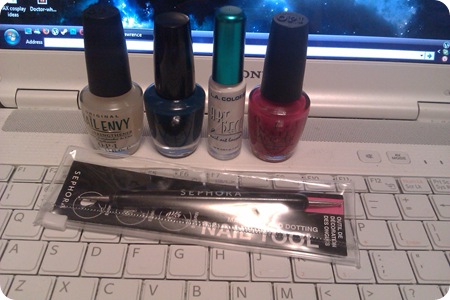
I used:

IMAG1660OPI Nail Envy, Fascino #26 (which I call TARDIS blue),
L.A. Colors Art Deco in White, and OPI Keys to my Karma,
and a dotting tool from Sephora.

And this is the finished product, pre-clean up:

IMAG1659

I think it turned out pretty good, considering I was trying to draw a straight line with a dotter, rather than a brush…!

If you would like to see a video tutorial of this look, check out chrissynailart’s video here, which was the video which inspired my version!

Friday, September 23, 2011

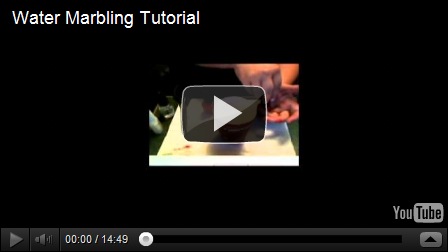
My First Attempt at Water Marbling and Tutorial! (and side note on growing my nails)

Sorry, I started writing this post last Saturday night, which is actually when I did and filmed my water marbling video, however, since this was my first time ever making a video, never mind uploading one to YouTube, it took a lot longer and was a lot more work than I was expecting, and ever since I’ve had too much to do to get back to this post. However, it’s here now! Below are my water marbling tutorial video and pictures of the finished manicure! Enjoy!

Alright, so this post is going to be mainly about my first attempt at water marbling, however, I just wanted to talk about some issues I have with my nails, first, as this doesn’t really warrant a separate post. Feel free to skip this chunk of text if you don’t want to hear about my issues with growing my nails long.

One big problem I have is actually just letting my nails grow out. I want to preface this next part by telling you guys that I used to be a nail biter/picker, and although I’ve pretty much gotten over it, anything wrong with my nails realllly bugs me. Anyways, usually, my nails get to a certain point, where they are actually longer than my finger tips, and then they start to chip at the edges, or especially right along the sides, and I either file them way too much, I’ll cut them off, or, if I’m out and have forgotten a nail file, I’ll snag one, and by the end of the day, I’ve lost all my lovely, almost-long nails.

Lately, however, I’ve been doing really well, and most of my nails have got to a really nice length. However, I’ve noticed that with all the polishing and un-polishing, my nails are getting a little dry, and for a few of them, the top layers have started trying to peel off. My thumb nails have always been especially bad for this, but right now, about half of them are trying to peel in two. So, before I start my water marbling, which I want to last a good long time, as long as it turns out well, since I don’t have a nail strengthener (I’m going to buy one tomorrow >_<) I’ve put some Vitamin E cream on my nails. I’m going to let it soak in for a while, and then wash my hands and get started.

I chose the vitamin E cream, is because one of the ingredients in the OPI Nail Envy strengthener, which is the one I want to buy, is vitamin E; it seemed logical.

Water Marbling:

So, I first learned about water marbling on the RedditLaqueristas forum on Reddit, and have since watched tons of videos and read a bunch of blog posts about how to do it, and now I’m ready to try it. If you’ve never tried, here are the main things you want to know first:

  1. Always use filtered or bottled water at room temperature for best results. (For the purpose of this post, I’m using tap water, which lived in my fridge in a bottle for at least 24 hours, and then sat out in a cup over night… I figure that counts as filtered.)
  2. You’ll need something to clean up the water before you pull out your nails. Some suggestions include:
    • an orange stick
    • a toothpick (this is what I’ll be using, as they are cheap and more disposable. And it has a good, fine tip for drawing)
    • a pencil
  3. Its a good idea to tape around your cuticles, so that there will be less clean up to do on your fingers after you’ve dipped them
  4. Have paper towel down to protect your work area. I would also suggest using a disposable cup, or something you don’t care about and will only use for marbling, as I’m not sure how hard it is to get polishes off, say, glasses and mugs. I’ll be using an old Starbucks cup!

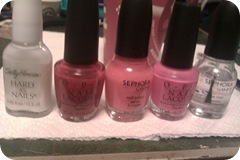
The polishes I’m going to use are:

IMAG1581Left to right: Sally Hansen’s Hard as Nails in ‘Platinum’,
OPI ‘Keys to my Karma,’ Sephora by OPI’s ‘Caliente Coral,’
OPI’s ‘Strawberry Margarita,’ and Sephora by OPI’s clear top coat

I apologize for the awkward angle and poor quality, as the only cam I have is on my laptop, but here is my video tutorial (please excuse my account name, I don’t think I can change it. Also, I apologize about the tiny video, I’m trying to fix that, but here this is for now):

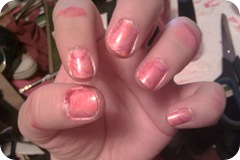
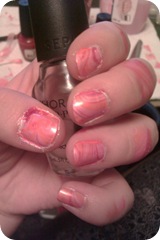
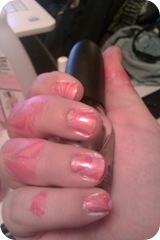
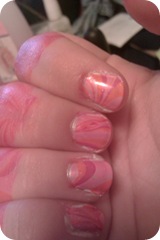
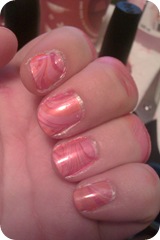
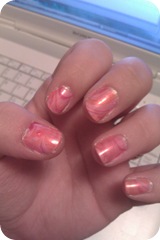
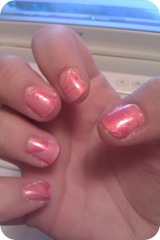
And here is the finished manicure:

IMAG1584

IMAG1587IMAG1589    


Pre-clean up. I was really excited about them, so I didn’t even wait to clean up all the (awesome) swirls on my fingers before I took pictures…


IMAG1592IMAG1590


Some of them turned out better than others, obviously, and they aren’t even nearly perfect, but I think they came out pretty well for my first attempt!


IMAG1594IMAG1595


After clean-up,
looking much tidier.
(not perfect, I know.
I’m not great at clean-up):


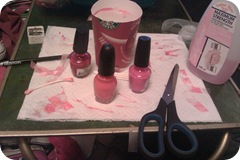
And finally, my mess after I was all done:

IMAG1582

So? What do you think? Have you ever tried water marbling, or do you want to now? (If you try it after this post, send me your pictures!!))

Wednesday, September 21, 2011

ELF (and Nail Polish) Haul!

I told you a while ago that I’d ordered some stuff from ELF, since they had free shipping with a $15 dollar purchase, plus their prices are so cheap! Well, my stuff finally arrived yesterday and so I thought I would show you guys what I got, plus a couple things I got Sunday at the same time (especially since my YouTube video for my water marbling tutorial says it’s going to take 16 hours to upload)!!

Since I got it first, let’s start with the nail products I got from London Drugs on Sunday:
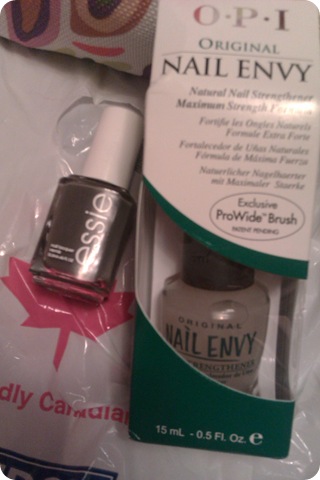
IMAG1601

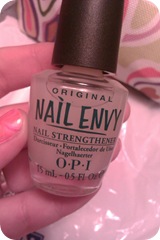
As I mentioned in a post a few days ago, my nails tend to peel and break when they start to grow out, and, since I want to grow them longer, I thought I should get myself a nail strengthener. So, I bought OPI’s Original Nail Envy:
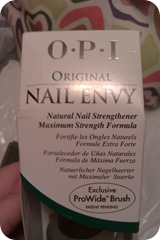
IMAG1604IMAG1606IMAG1607

This isn’t the one that I wanted to try, but the London Drugs I was at didn’t sell the Sensitive and Peeling formula, so I settled for their Original. I know I could have found it online, but everywhere I found it online had crazy shipping to Canada, and it would have been an extra $10 or so.

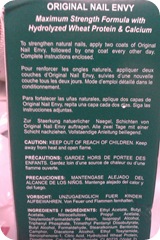
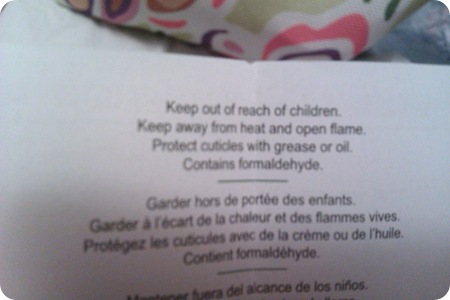
I’ve got a coat of it on now, under the Essie polish, which I’ll show you in a second, but as it’s the first time I’ve applied it, it’s way too early to give you a verdict on if and how well it actually works at strengthening my nails. The only thing that already worries me a little is that, while the Sensitive and Peeling formula advertised that it was formaldehyde-free, this one  does contain formaldehyde:
IMAG1608

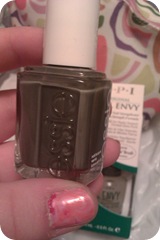
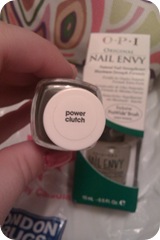
The other thing I got, which was on a whim, was ‘Power Clutch’ by Essie:
IMAG1602

IMAG1603


After spending $20 on OPI, I shouldn’t have bought anything else, but I’d never tried Essie before, although I knew it was about on par with OPI. Also, I’ve been wanting to find a nice grey polish, and this one jumped out at me, so despite it being another $10 that I didn’t need to spend, I got it.


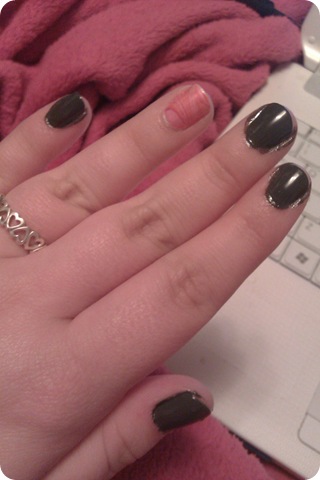
Since my water marbling already started to chip and come off, I took it off most of my nails (I kept a couple of really nice ones), and tried the polish, as you can see below:
IMAG1611

I really love it! Not only is the colour exactly what I wanted, but Essie seems to dry really fast, and it’s also really shiny, even without a top coat.

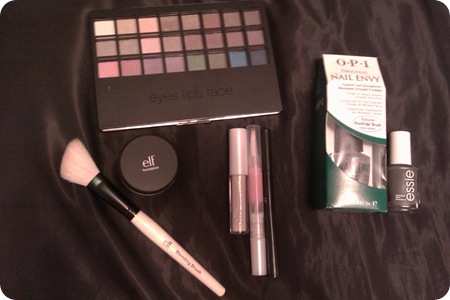
And this is what I got from ELF:
IMAG1614

I’ve already explained the deal that was the reason for my ELF order, so now I’ll just show you the products I decided on, and a swatch of it on me. First, I decided to get their regular Tone Correcting Concealer in Ivory, since I’m super pale. This product costs $1:
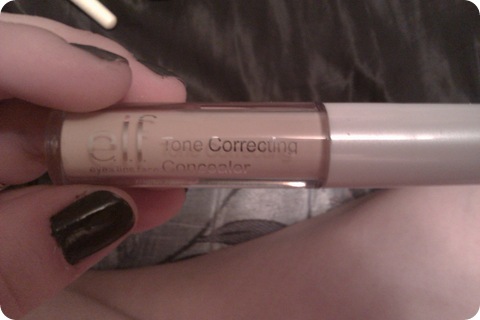
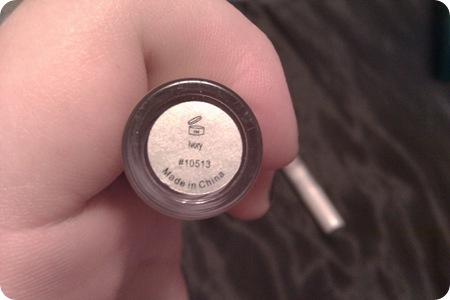
IMAG1616

IMAG1627

The applicator looks like one of those sponge applicators that lots of lip glosses have:
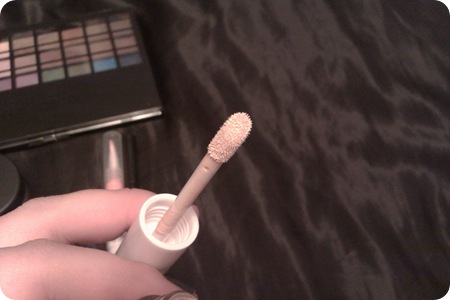
IMAG1619

This is what it looks like on my skin, and then after its blended in. Its basically exactly my shade:
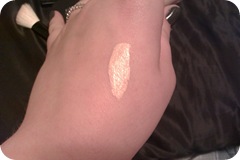
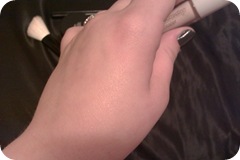
 IMAG1617IMAG1618


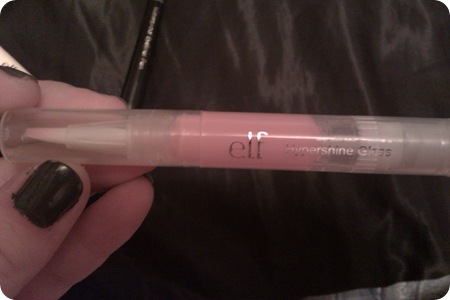
I also got two ELF Hypershine Glosses in Bubblegum, one of which I gave to my sister as a present. According to her, Zellers used to sell ELF, and she had one of these before in the exact same colour and loved it. These glosses were also $1 each:
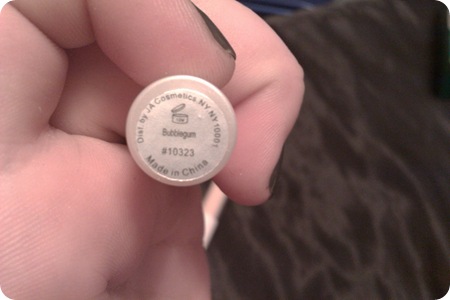
IMAG1621

IMAG1628

It’s a really delicate pink colour, which is really what I like, as I don’t like too much pigmentation in my glosses. It’s soft and super glossy. The only bad thing that I’ve found so far, is that it tastes a little bit like sunscreen. Which is weird, especially since it doesn’t have any SPF in it. But other than that I really like it, and even more so for the price!
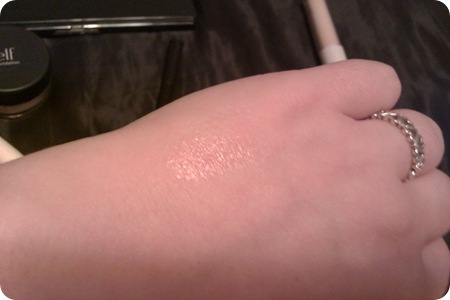
IMAG1622

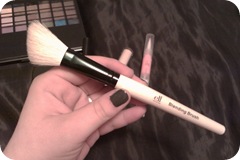
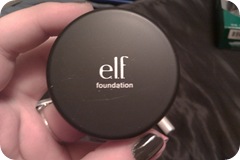
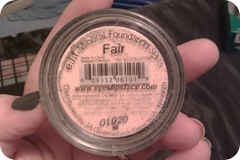
Third, I got their Weightless Mineral Foundation in Fair, which was $5, and came with a blending brush, which is part of why I got it. Also, I am nearly out of my usual powder (Rimmel London Stay Matte Pressed Powder in Transparent). I didn’t bother doing a swatch of this one because you can’t even see it on my skin:
IMAG1624IMAG1625


IMAG1630

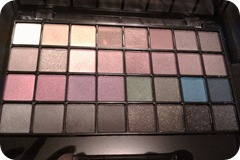
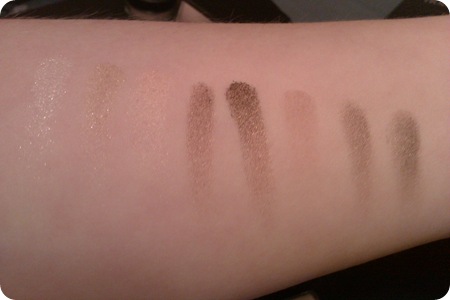
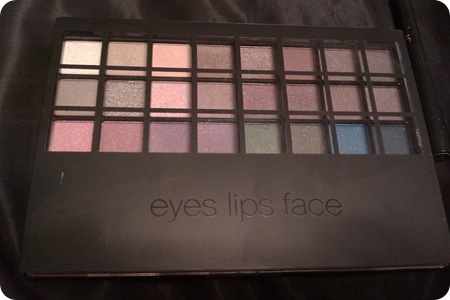
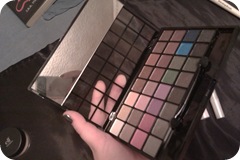
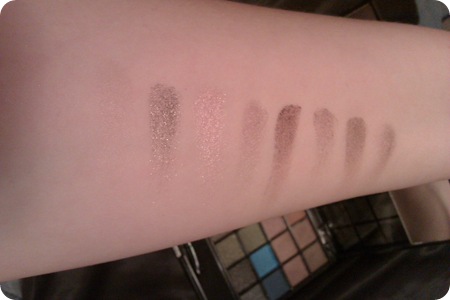
I also got this 32 Piece Eye shadow Collection for only $5. There are a bunch of pretty neutral shades, and a few brighter colours as well. The only sad thing, for me, is that the colours don’t have names.
IMAG1633IMAG1631IMAG1632


IMAG1635

1st row (above): a shimmery white, shimmery gold colour, an almost-skin-tone, metallic gold-bronze, dark bronze, flat brown, and two somewhat grey-bronzes
2nd row (below): barely-there brown, an silvery-bronze, a pale shimmery pink, cool shimmery brown, a warm chocolate brown, and three similar bronze-type shades
IMAG1637

IMAG1638

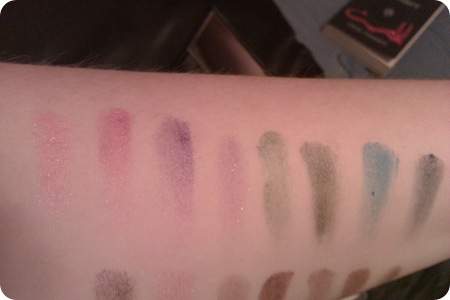
3rd row (above): bright pink, dark pink, deep purple, light purple, bright green, dark sage green, bright blue, midnight blue.
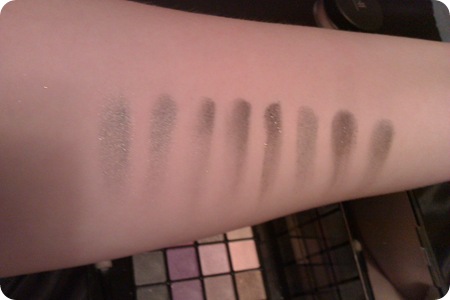
4th row (below): silver, pewter (the look the same in the image, but I swear they’re different), grey, dark grey, grey with gold glitter, green with gold glitter, black with silver glitter, and pewter with silver glitter.
IMAG1640

So far, I’ve tried the gold one (1st row) and the pale pink (2nd row), but I really like them. They aren’t super bright, though, so if you prefer super-bright shades, I might suggest a different brand, or maybe using these over a primer.

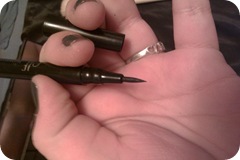
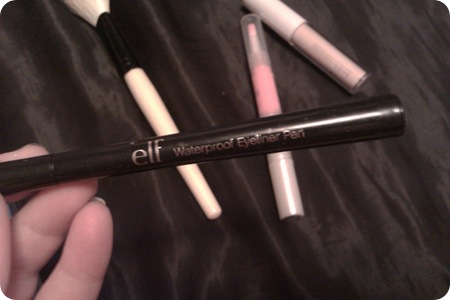
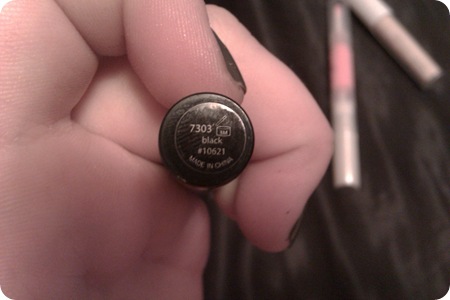
Finally, I got their Waterproof Eyeliner Pen in Black. I got this because of the number of times that I wish it was safe to use a Sharpie on my eyes, because I figured drawing my liquid on with a pen would be easier. Then I saw this pen, and I had to have it, especially for only a dollar!
IMAG1642

IMAG1643

IMAG1644IMAG1646


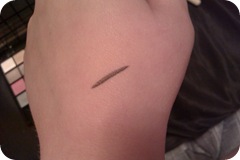
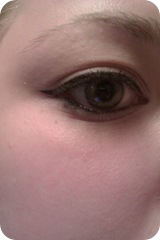
The tip is really fine, so it can draw a really nice, thin line, but its not very black on its own; more like a dark grey or soft black, as you can see above. However, if you look at the pictures below, it looks better on:

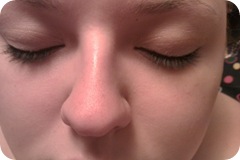
IMAG1647IMAG1652


IMAG1653IMAG1654

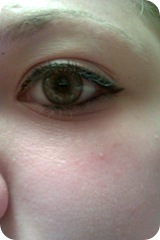
I also really like how easy it is to draw with the pen format of this product. I can have pretty shaky hands, and I have a lot of trouble trying to do a cat eye, but, as you can see here, it was way easier with this.
In these pictures, I’m also wearing the pale pink shadow, the mineral powder, and I used the concealer as a primer.


And that’s everything!

You might be wondering, if you were keeping track, how I got free shipping, because that was only $14 worth of product, so I might want to mention that I also bought my sister a $1 eye shadow palette in Ocean Dreams, since blue and teal are her favourite colour obsessions. (And I’m a really nice sister!)

Tuesday, September 13, 2011

Glitter and Black Crackle Nails

Hey! First, I want to apologize about the lack of posts! School just started again, and so I’m trying to get back into my routine, and unfortunately, this blog got a little bit forgotten. However, as soon as I can, I want to do a post for you guys about all of my favourite products. Or, I might do it as two separate posts: one for makeup/polish and one for bath/body products.

But for now, I wanted to show you my nails right now! I painted them last night, but I didn’t get a chance to clean them up and take pictures until today. As you can see from the title of this post, they’re gold glitter (cheap brand: Fascino. I think its just a crappy brand, but its pretty good quality for basically a no-name) under black crackle (OPI Black Shatter):

IMAG1570

I really like the idea, but I think the problem is, if you aren’t close to them, it looks like I put crackle over clear polish, which is kind of boring. Next time, I’ll remember to use more than 2 coats if I use a sheer glitter like this one.

IMAG1572

I would also like to do some posts in the future of different types of nail art along with tutorials. If there’s anything in particular you would like to see, leave me a comment!

Saturday, September 10, 2011

Love!: Caliente Coral

Hey guys! I finally got the Sephora by OPI colour: Caliente Coral, that I have been drooling over for a while (I know, hot image, right?). I had to wait to use it until after work today, but now that its on, I’m so glad I got it, the colour looks fantastic, and I think it looks really great against my skin tone:

IMAG1557

I apologize for the crappy lighting, the colour should look a lot brighter…! I think this picture shows the colour a little better:

IMAG1558

Anyways, I just thought I would share this with you. I’d never really thought about using an orange polish before this one, and orange is far from being one of my favourite colours, but I really love how this one looks! It feels less harsh and construction sign-ish, and more pretty and fashion-y!

What do you think? What is your favourite nail colour? Leave me your comments!

LinkWithin

Related Posts Plugin for WordPress, Blogger...