Showing posts with label Nail Art. Show all posts

Sunday, June 18, 2017

REVIEW + Giveaway || What's Up Nails Canada Day Nail Vinyls

Hey guys, long time no talk! I'm trying my hardest to get back on track right now, but it's taking some work...

But that's not what today's post is about! Today I have a quick, short review for you and a giveaway for the first 10 people who read this and want these vinyls! Thanks so much to Nail Polish Canada for sending these for me to review and including me in their giveaway promotion! For more details on how to get your free vinyls, stick around until the end of this post!

First, I wanted to share my quick thoughts on these guys. I also ask you to forgive my atrocious nails; my new job (Starbucks barista) doesn't allow nail polish at all and I spent a lot of time washing my hands, using cloths soaked in sanitizer, and washing dishes, so my nails have seen better days. Not all of us can have stunning Instagram-ready nails, I guess. Anyways, here's a look at the vinyls I keep talking about:

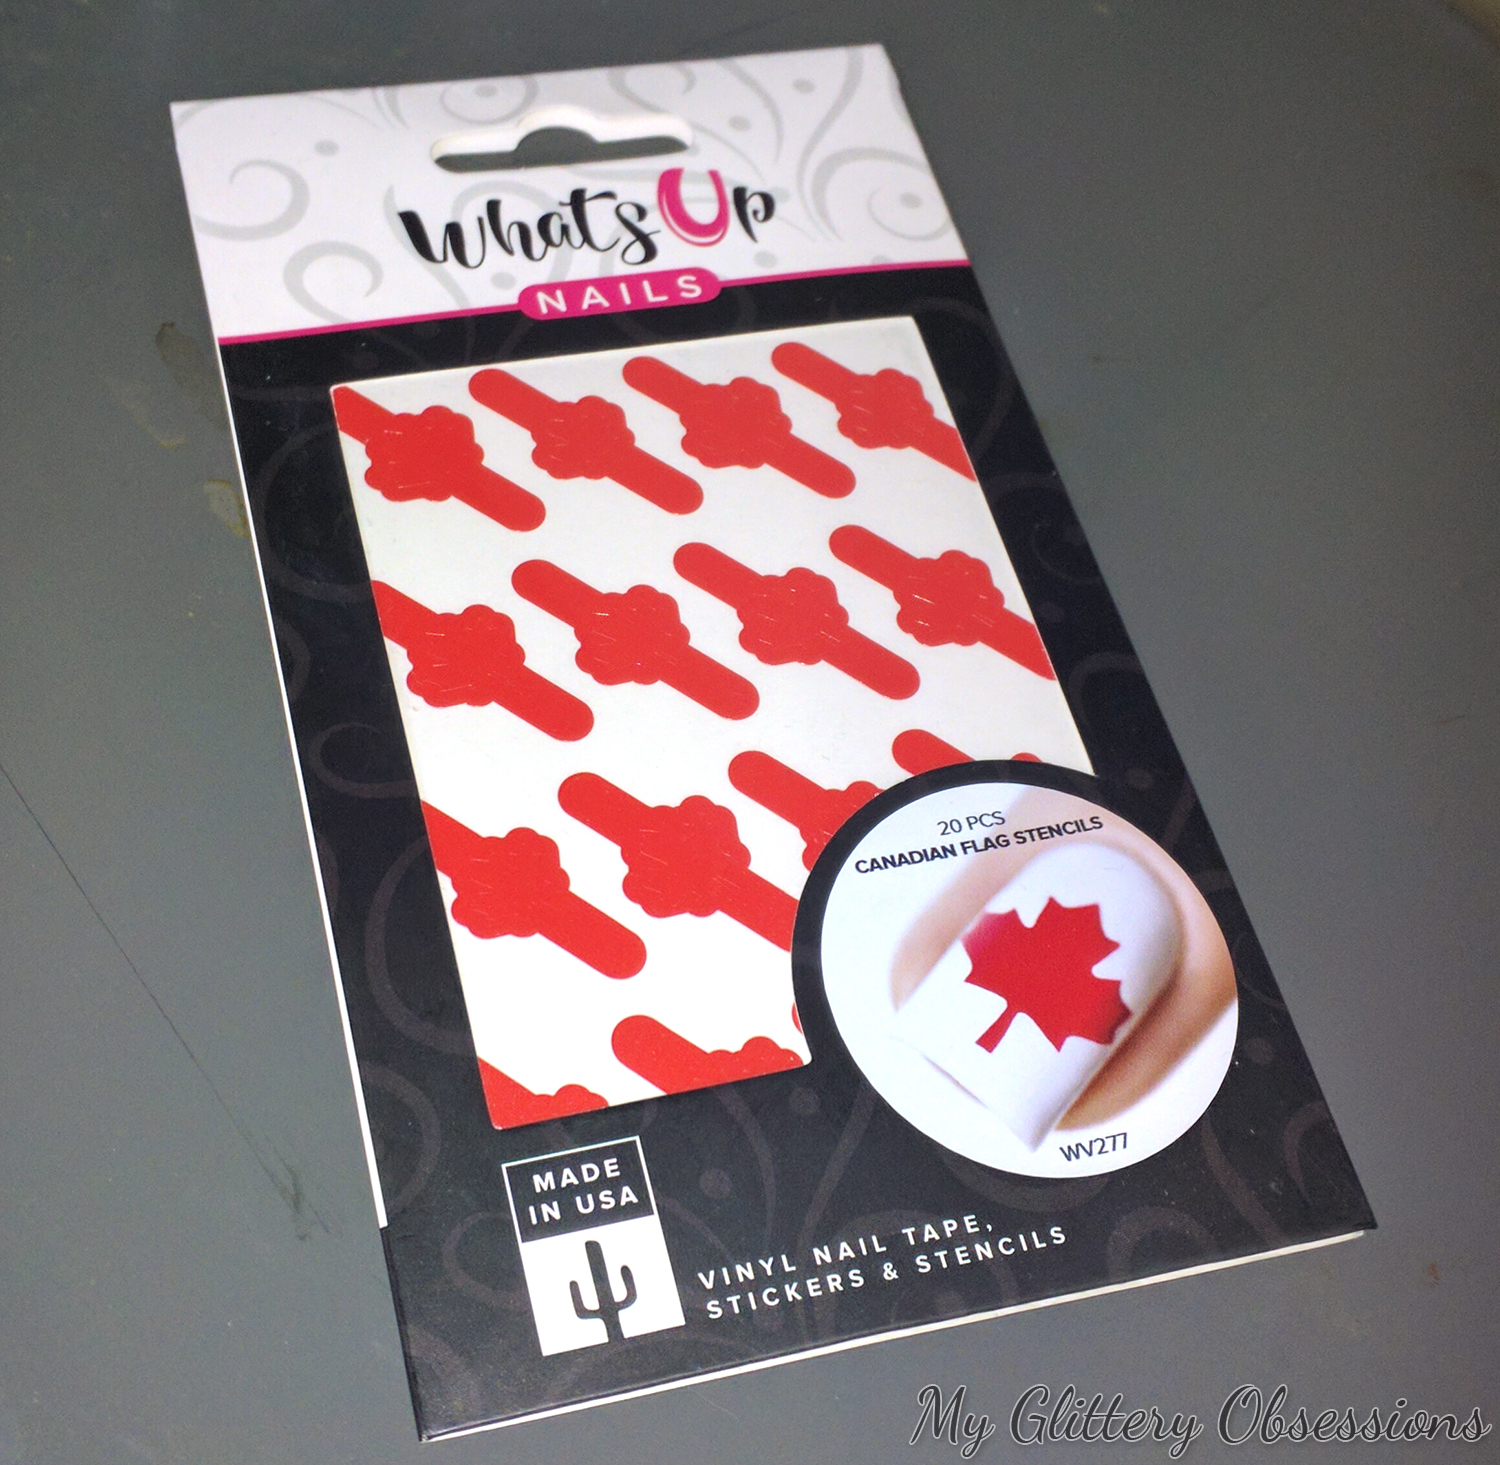
front of package

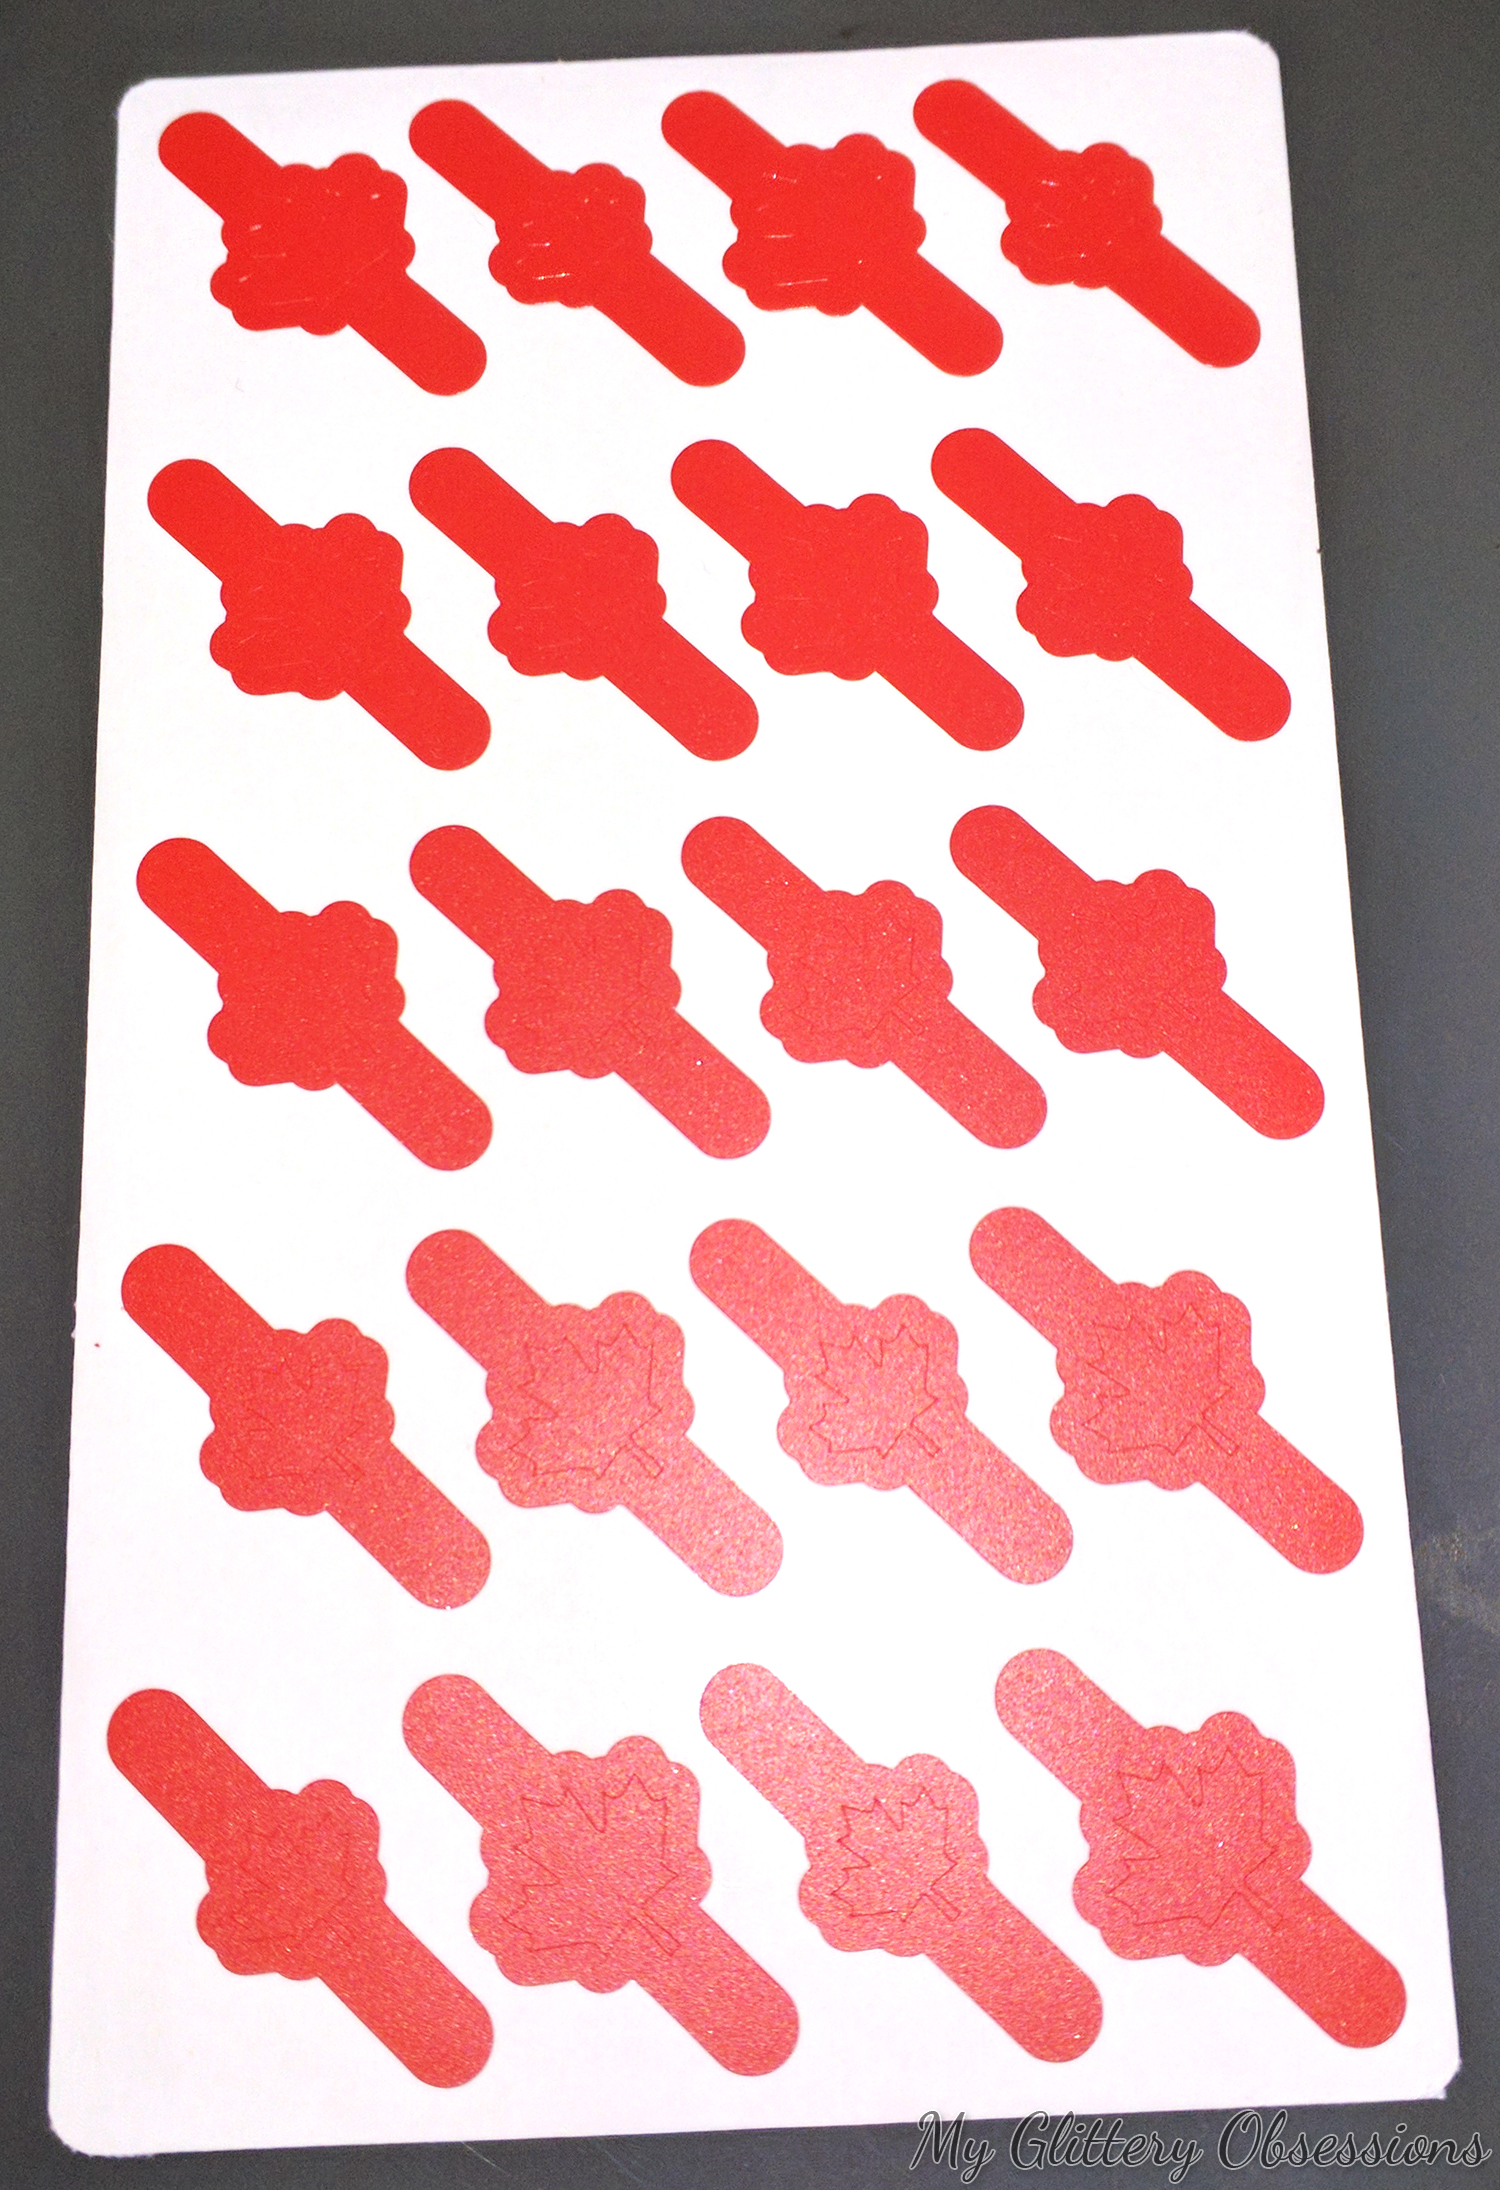
As you can see, these vinyls from What's Up Nails come with 20 stencils of various sizes, as well as 20 maple leaf stickers. And as the back of the package suggests (and I'll demonstrate later), you don't have to waste those maple leaf pieces: they make cute nail stickers!

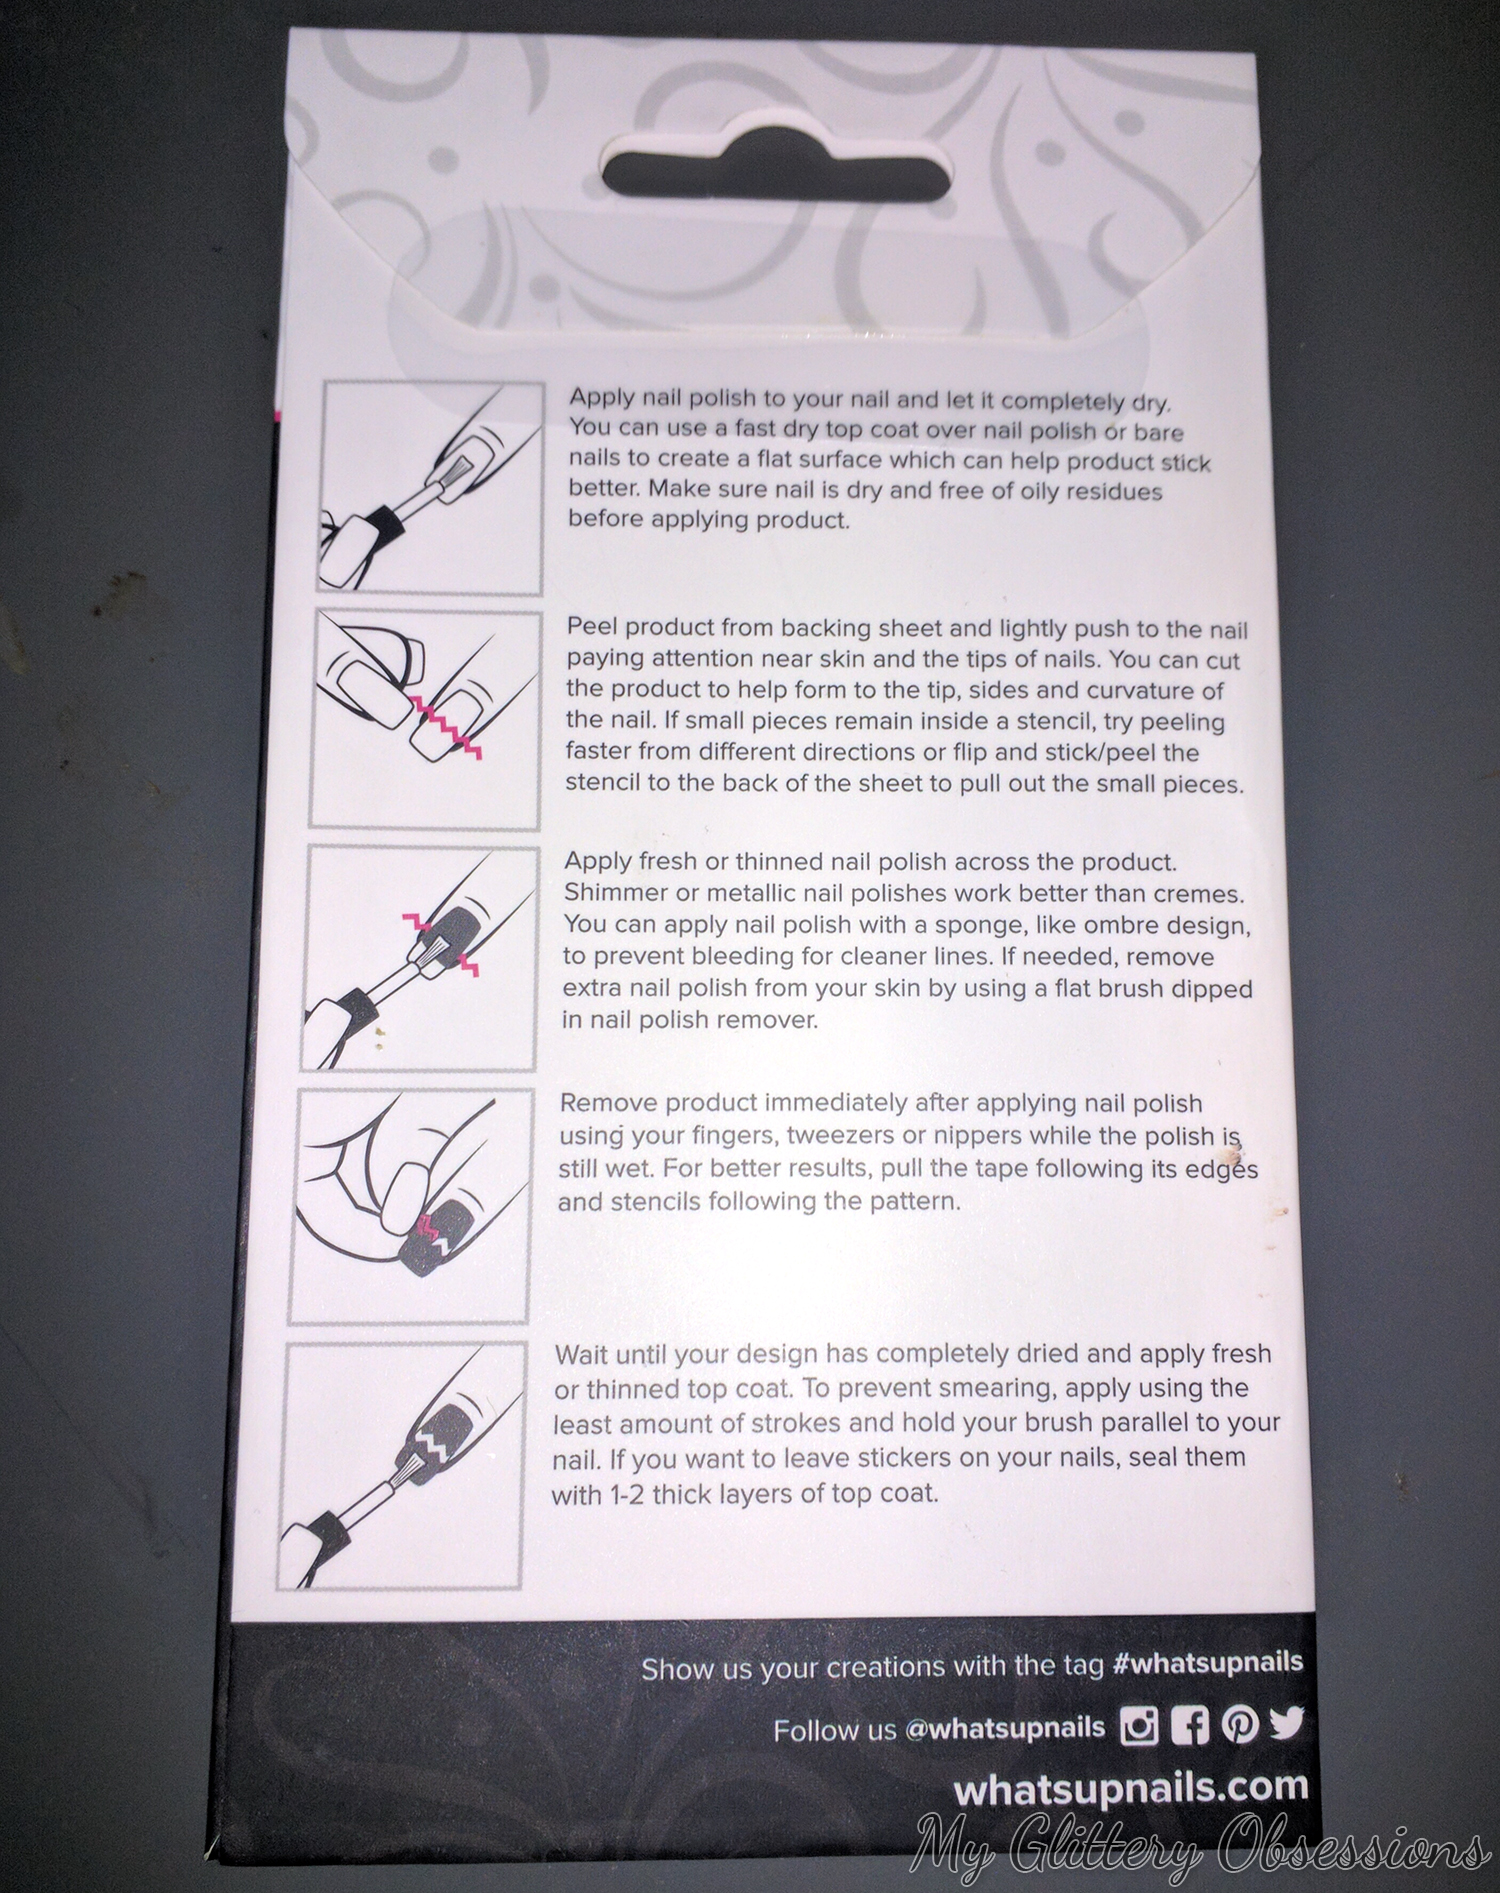
back of package

I love that this packaging gives you detailed instructions on how to use these properly, because not everyone has any clue how nail polish and nail art works. And in my impatience to get this post together I even made the mistake of not letting my base polish dry before using the stencil... So please... LET YOUR BASE POLISH DRY COMPLETELY... It will save you tears and nail polish!!

sheet of vinyls

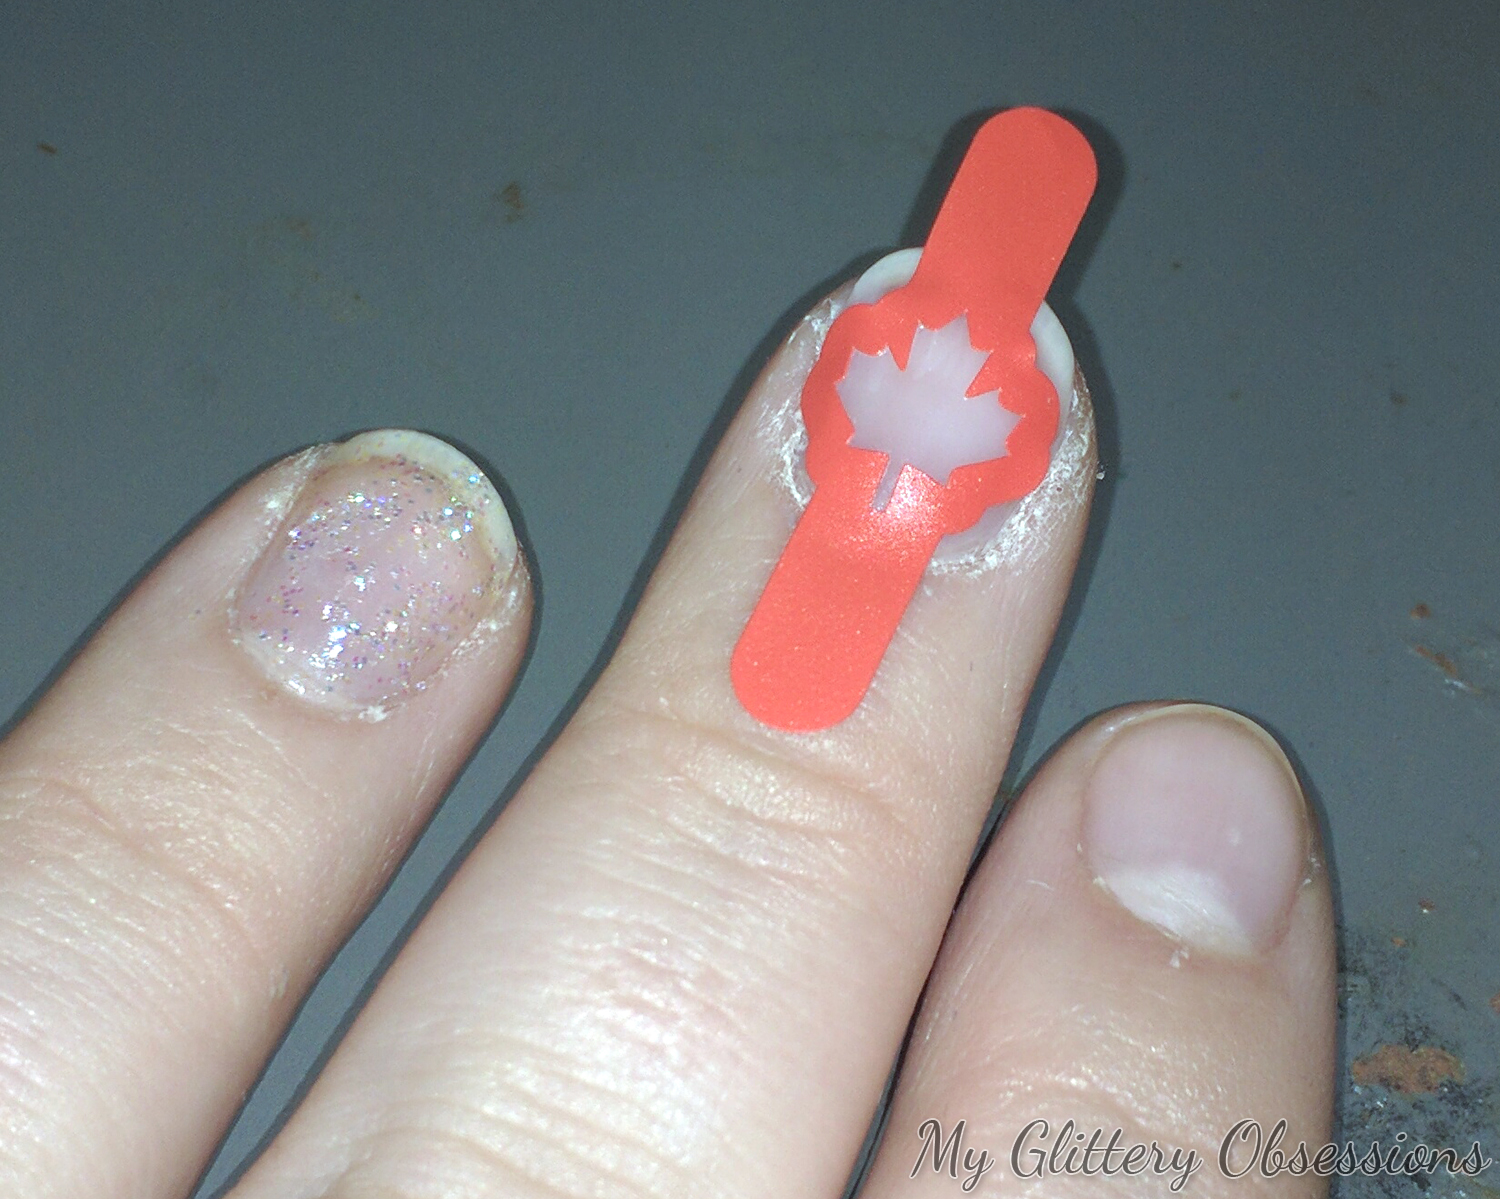
Once your base is dry, select the right size stencil for your nail size, position the sticker how you want it on the nail without any rippling or bubbling so you'll have clean lines, carefully fill the stencil with a thin layer of your chosen polish, and remove the stencil immediately.

vinyl stencil on olish

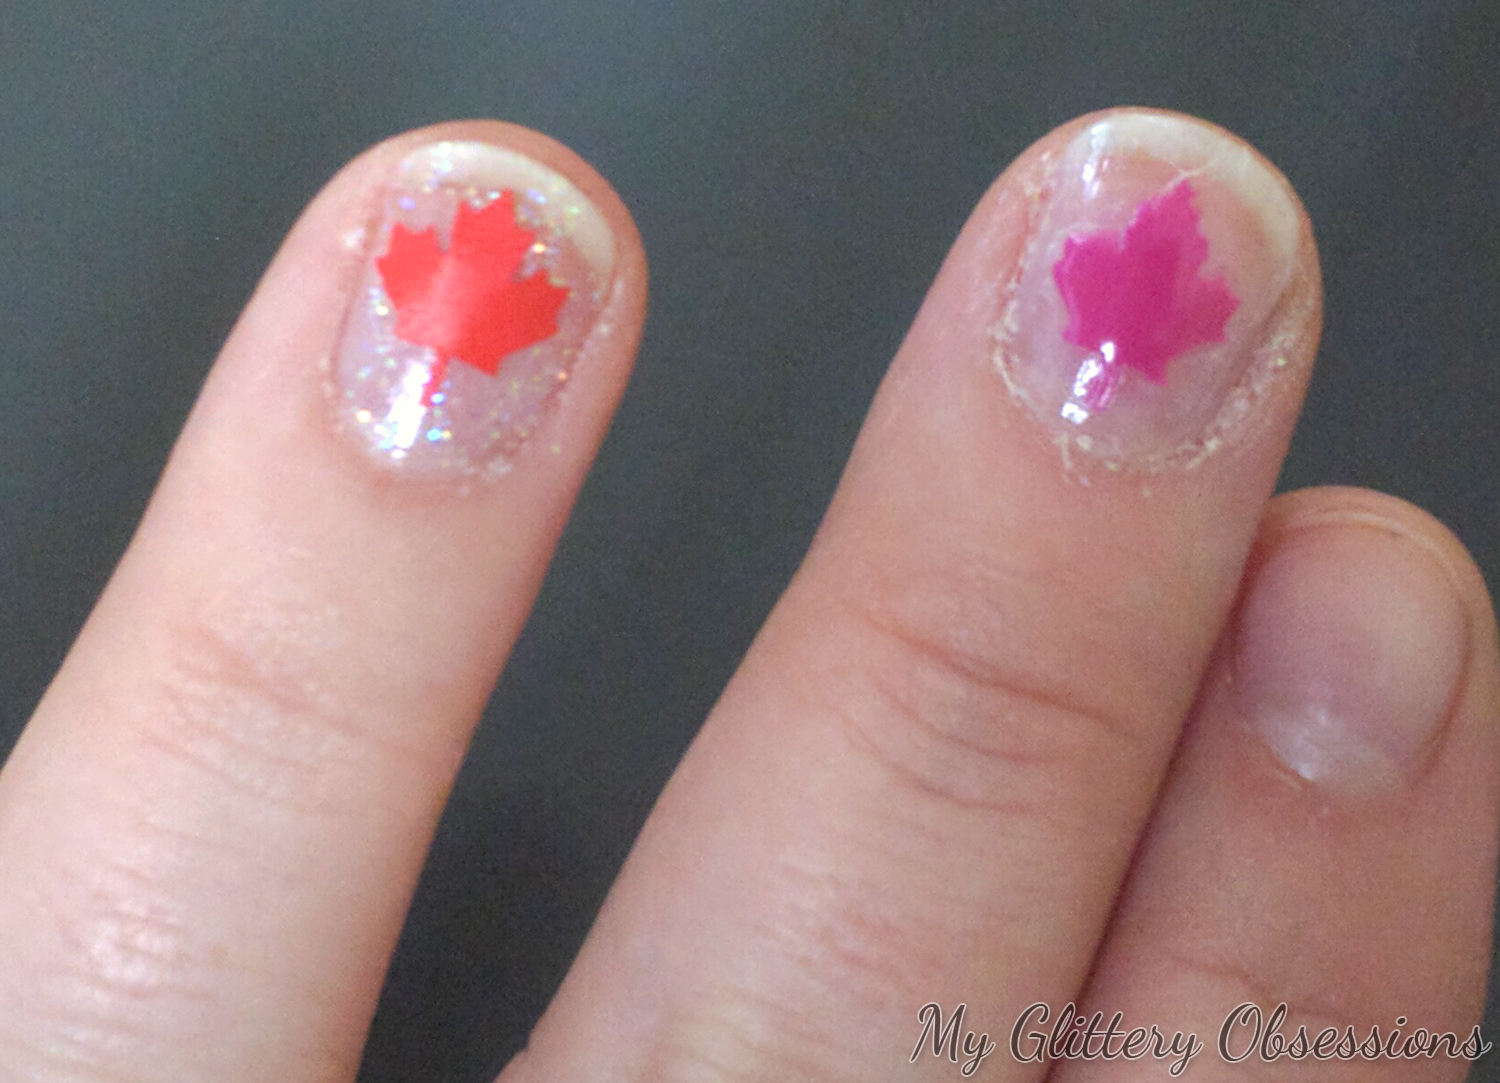
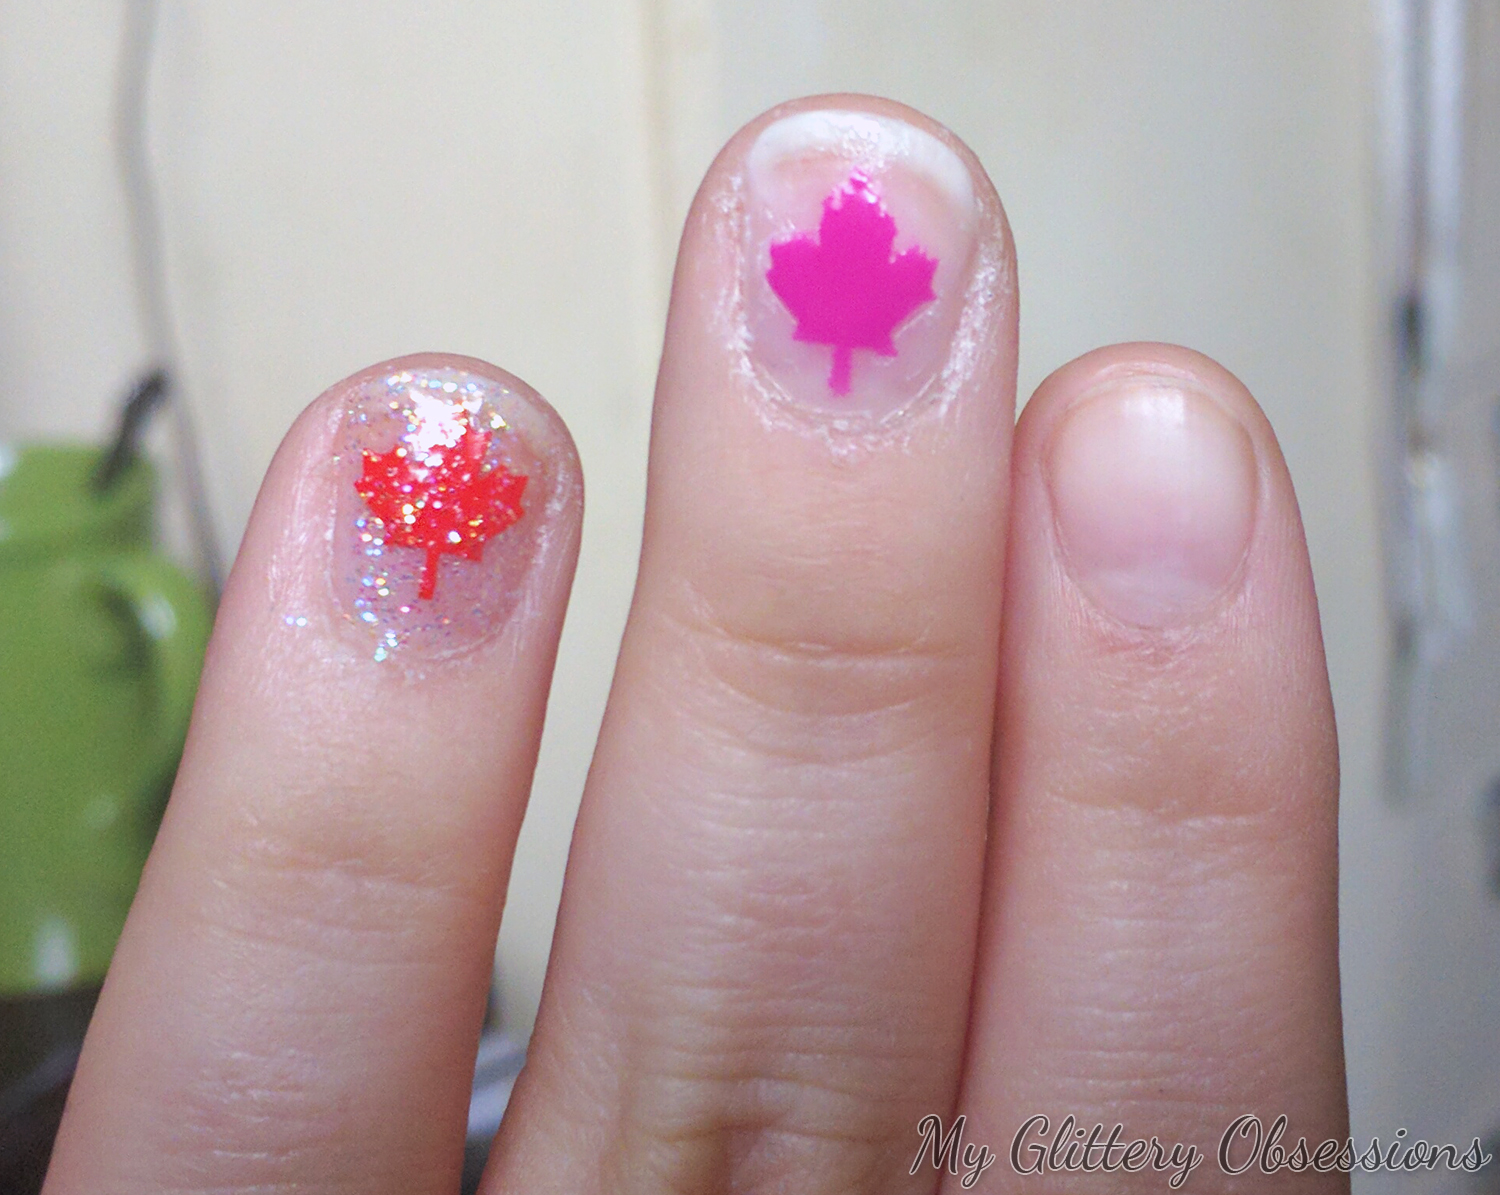
If your polish wasn't dry before you put down the stencil, it will pull away some of that base when you peel back the stencil, which sucks... You can see an example of this below. Sometimes it is much worse, and sometimes (like this time for me), it's mostly saveable with a nice layer of topcoat. But DO NOT put on your top coat until the design is dry, or it will streak! As I mentioned, you can also use the maple leaf shapes as nail stickers, which you can also see below. You'll just want to make sure to remove any bubbles and that the edges are laying flat against your nail before you put on a topcoat to seal it to the nail. The package suggests 2 good layers of topcoat; I used a layer of my glittery base and a quick-dry topcoat, and can't feel the edges or corners on the leaf, which is my biggest gripe with most nail stickers!

added vinyl on glitter

I figured everyone would be doing some form of the basic red and white for their reviews for this promotion, so for something a little different I went with this magenta over a sheer white base, and I actually really like how it turned out! So don't be afraid to mess around with colours for something unique if you're doing Canada Day nails... if you have these stencils, you already have the shape down right, it will be recognizable even if you do it in, say, your hockey team's colours instead of red and white!

finished nails

***

If you want to get your free Canada flag vinyls, you can go to http://www.nailpolishcanada.com/products/free-canadian-flag-nail-vinyls-1-sheet-20-stencils-by-whats-up-nails.html and use my code: O3Y5CUGSOGP. The code will work for the first 10 people to use it. In the case that all my codes are used, there is a list of other bloggers with special codes on that page, so make sure to see if any are still available before giving up!

If all the codes are gone, but you still want the vinyls, or if you prefer spending money to getting free things, you freak, then they only cost $5.65 CAD, and can be bought here.

Don't forget to let me know if you use my code! I'd love to hear what you think of these vinyls; personally, I'm pretty impressed with the quality!

Thanks for reading!

Sunday, October 9, 2016

New KISS Products For Halloween & Holiday 2016 || Blooming Lashes, Press-On Nails, Nails sets, Halloween nails stickers, and more!

A while ago I was invited to the KISS Products Fall/Holiday 2016 Preview event, where I got to see a bunch of the new nail and lash products that Kiss has out now or for the Holiday season. I also got a great goodie bag full of fun products, and I wanted to show you what I received, and give you my thoughts on some of the products I've already had the chance to try out!

kiss nails and lashes logo

As always, while I was given these products for my consideration, this post is not sponsored, and no one even asked me for my reviews. I just want to share my honest opinions about some of these things and show you some of the fun things Kiss has in store.

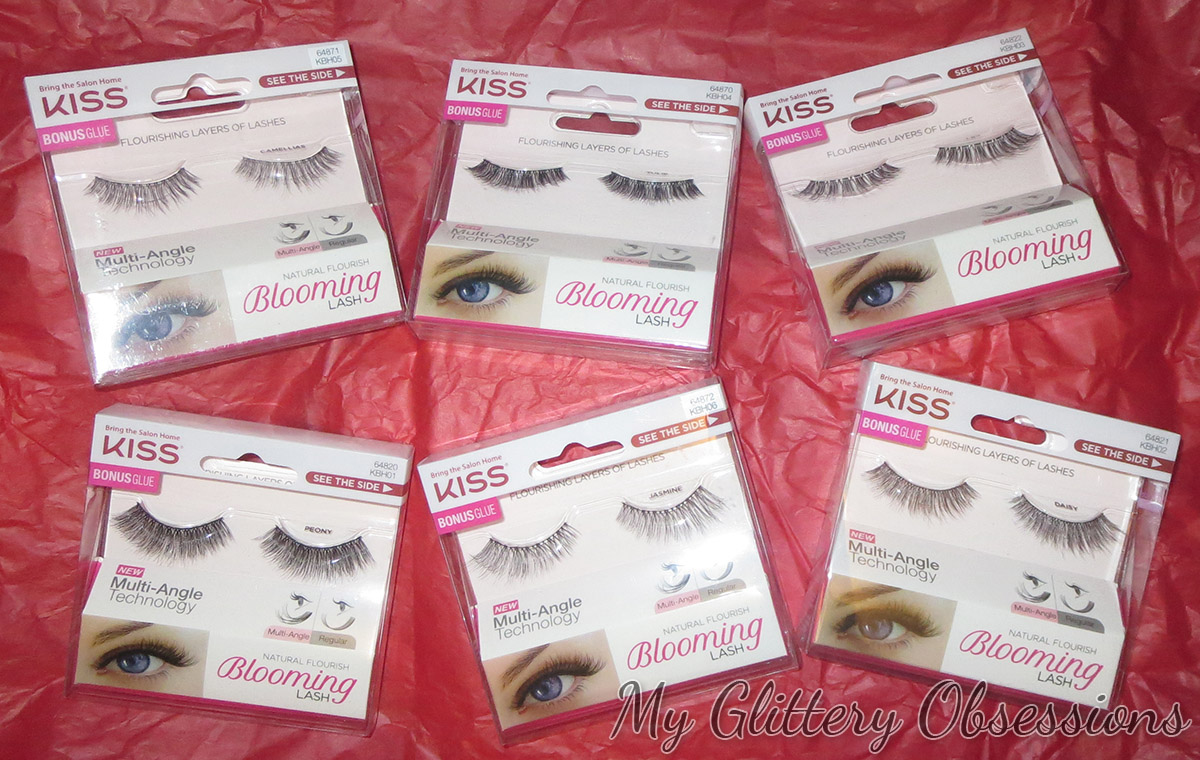
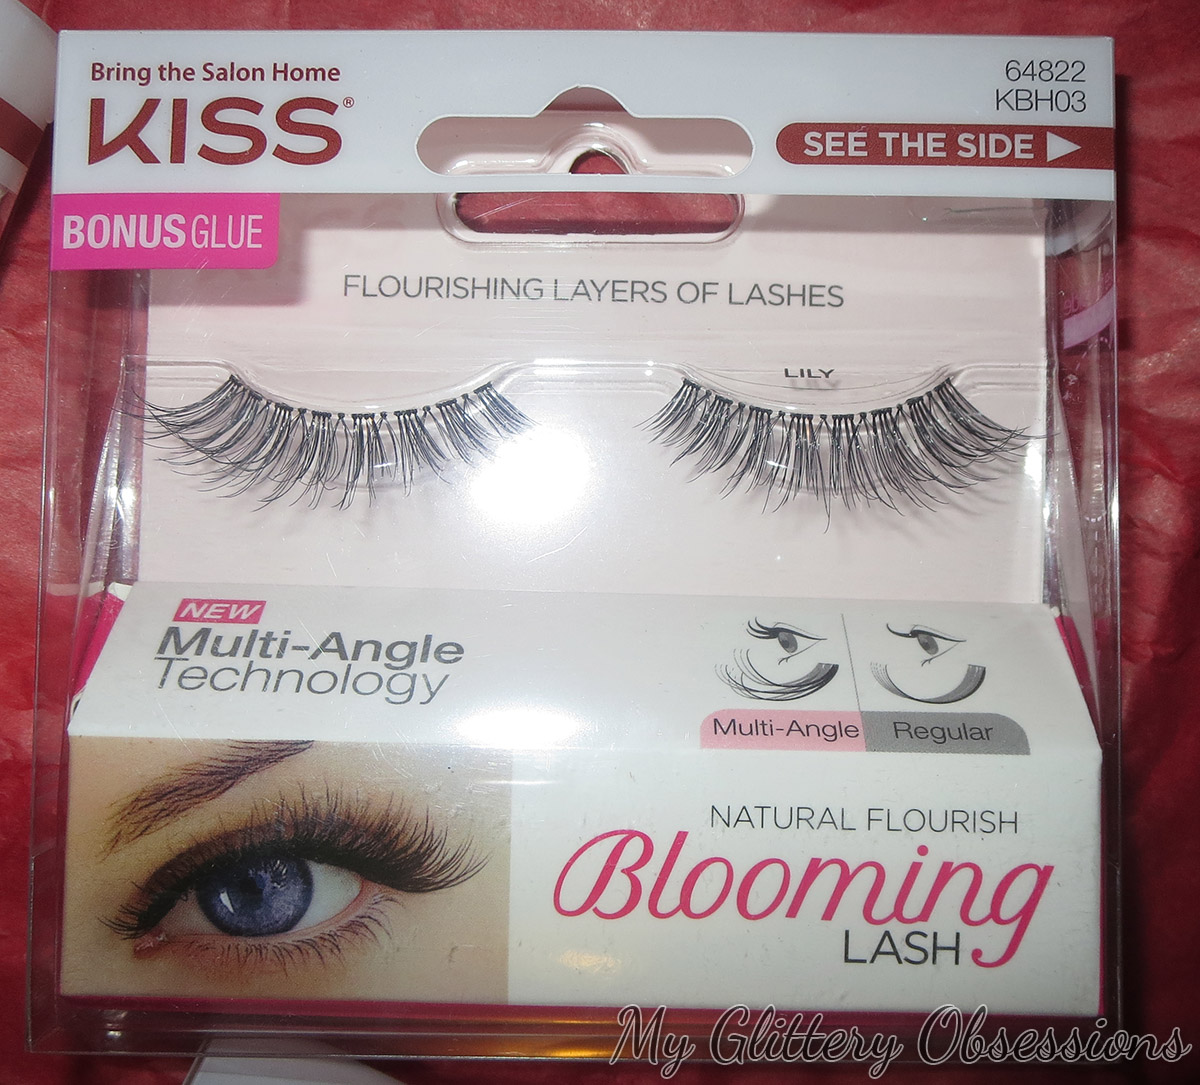
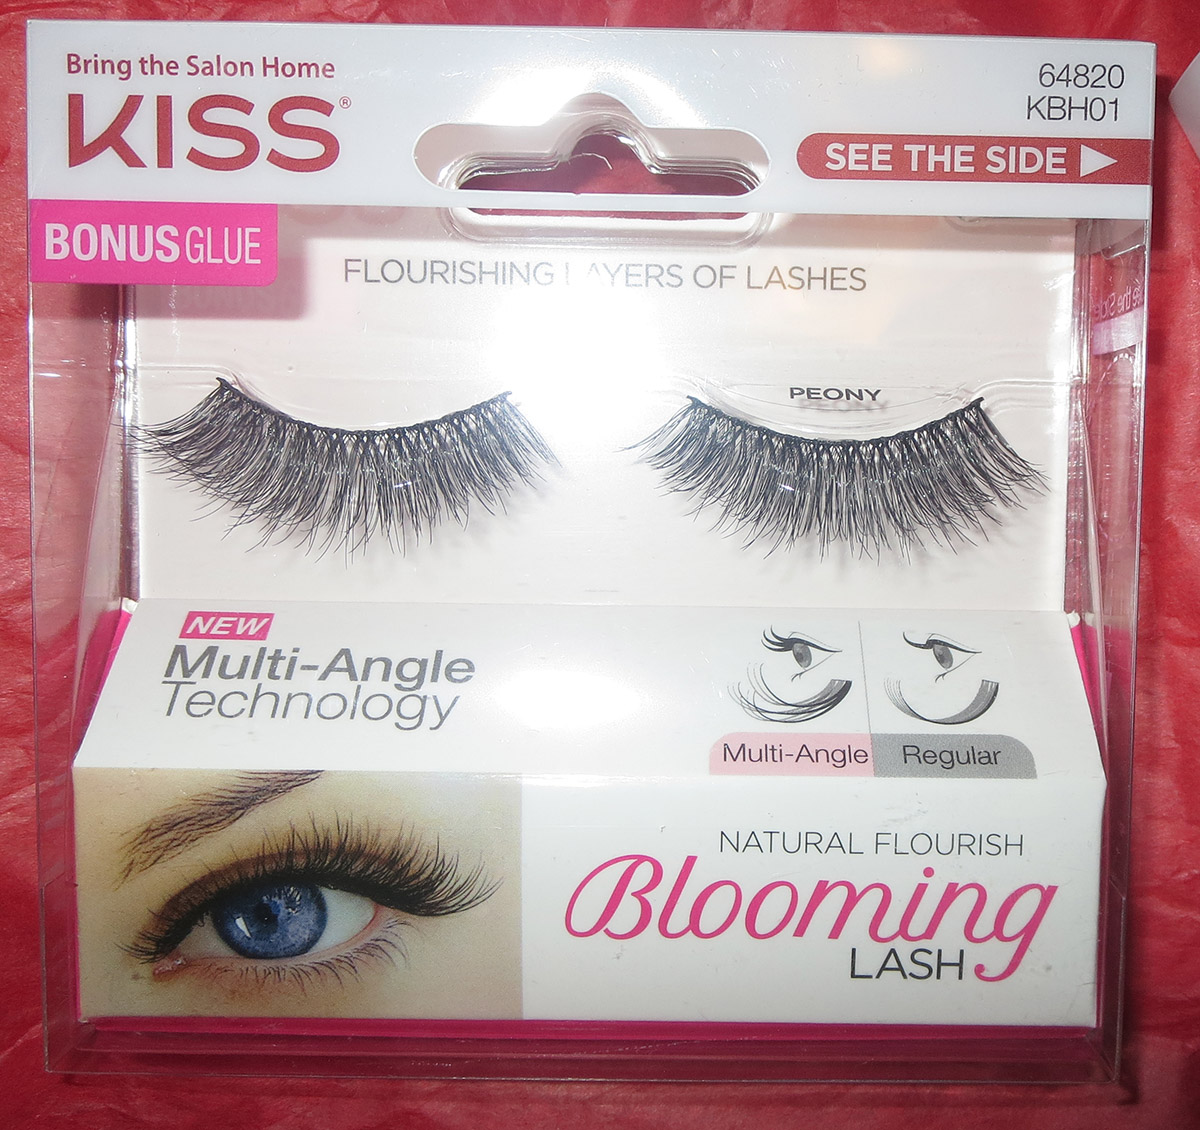
First, let's take a look at the new KISS lashes that are out. These are their "Blooming Lashes," and I've been surprised at how much I like them and how easy they are to work with.

Kiss blooming lashes

These lashes are supposed to have a very natural look to them because of the multiple layers of lashes, instead of most other strip lashes which all come out at the same level... something your lashes do not do.

kiss lash lily

Lily, probably the first ones I tried, and very pretty. Light enough for my face, even with my hooded lids, because the lashes are long but thin and fluttery.
___

I've tried about 3 or 4 of the styles I received so far, and I really do like them. I'm not a pro at lash application, but I can get these on at least passably well pretty much every time, as they are pretty easy to work with. The ones with the lighter, more feathery lashes are a bit easier than the denser ones, I found, since the lash band seems to bend easier on those ones. A clear band is always easier to use, in my experience.

kiss lash peony

Jasmine: probably the boldest lashes I recieved, since they are as thick as Lily (below), but also long and fluttery.
___

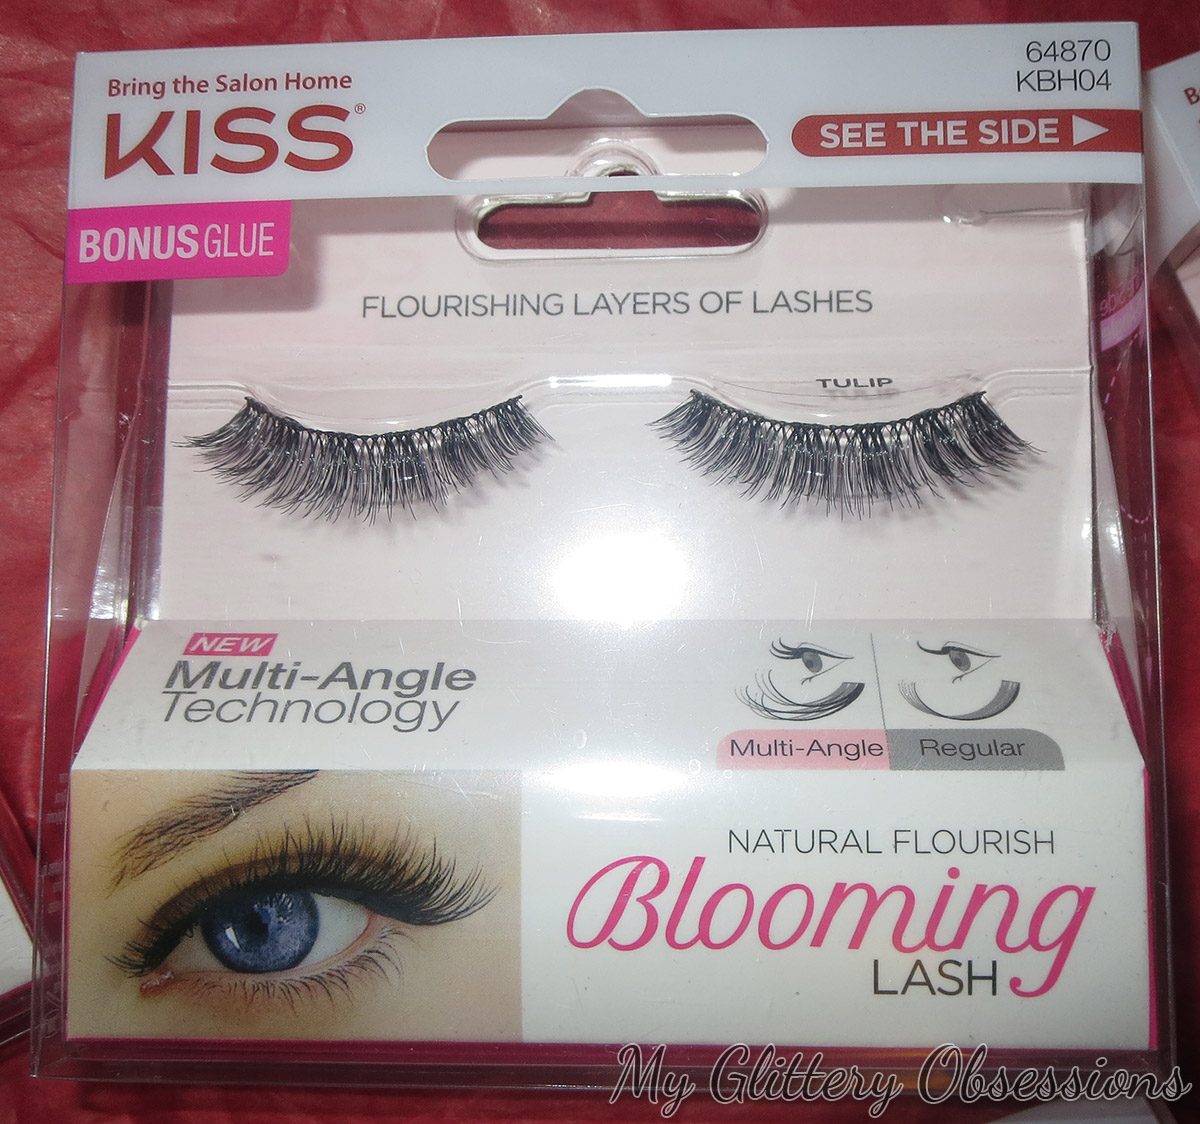
That said, one of my favourites for my faces was Tulip, since the shorter lashes fit my hooded eyes much better, without overwhelming my eye or eyeshadow as much as the longer options. Tulip is a great option for anyone with small lids who still wants really bold lashes!

kiss lash tulip

Above: Tulip. To see close ups of the other lashes, click on any image in this post. You should be taken to an album with all the pictures of the KISS products, including the other lashes.
___

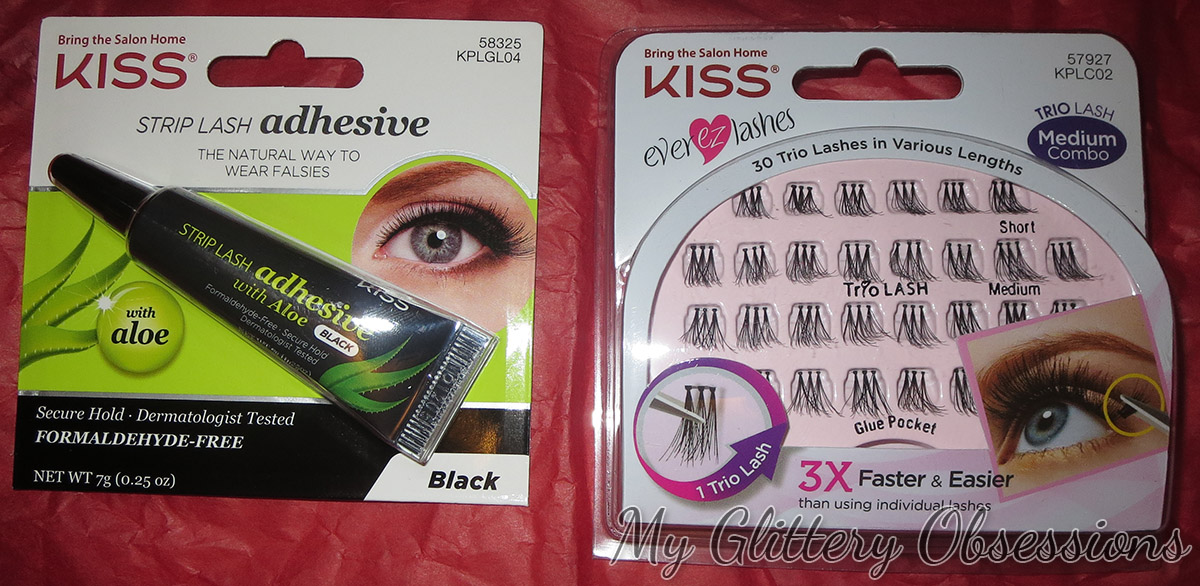
I also recieved a black tinted lash glue (which I will probably never use, because I am not skilled enough to mess around with black glue) and a pack of Trio lashes, which are great for customizing your lashes to be as bold or subtle as you want. But I find they take way more practise than a lash strip, because the placement is very finnicky. I've never successfully applied this type of lashes...

kiss lash glue and singles

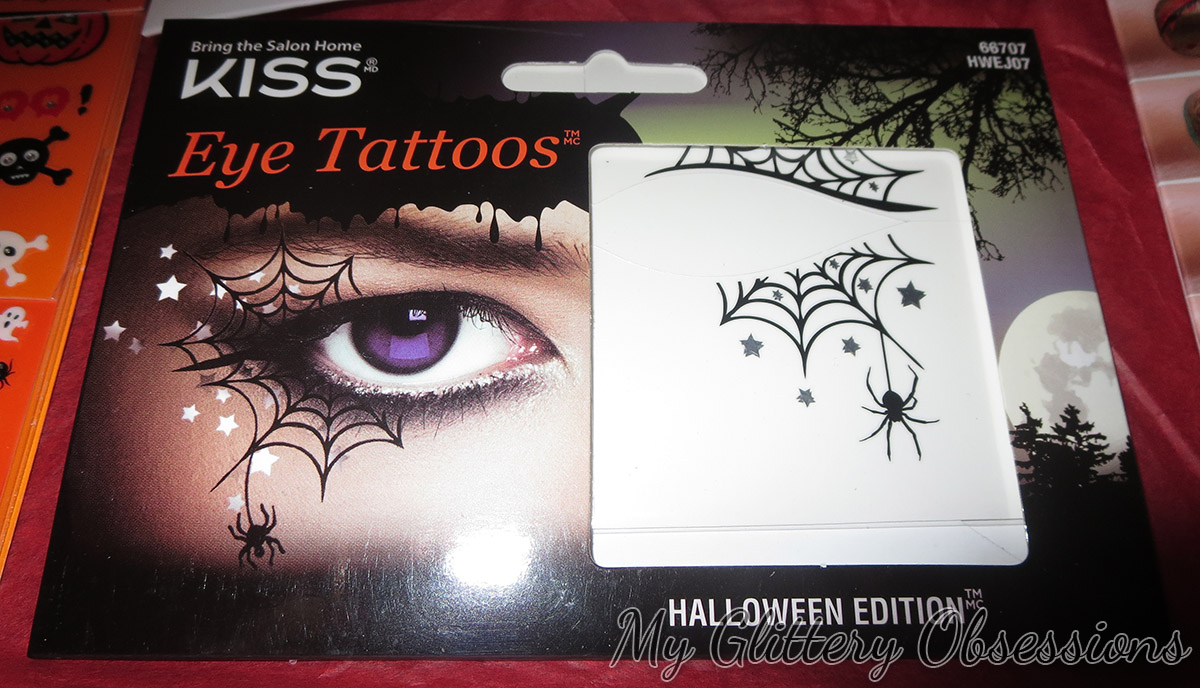
One more eye-related thing that I recieved from KISS were these cool eye tattoos:

eye tatoo

I'm not sure when I will get around to using this, since it doesn't fit into my Halloween makeup this year, but maybe I can fit it into a Halloween tutorial? They're really cool for someone lazy about Halloween, or who just doesn't have the skill to do a bunch of Halloween makeup. This one in particular would be really cool either as a lazy costume itself, or as part of something like a witch costume!

It sounds like these tattoos apply just like those water tattoos you used to wear as a kid (or maybe you still wear them, no judgement here!), and come off with baby oil or face cleanser.

***

That's all the lash and face products now, so let's have a look at the various types of press on nails and other nail products available from KISS that they were showing off and giving out at the event.

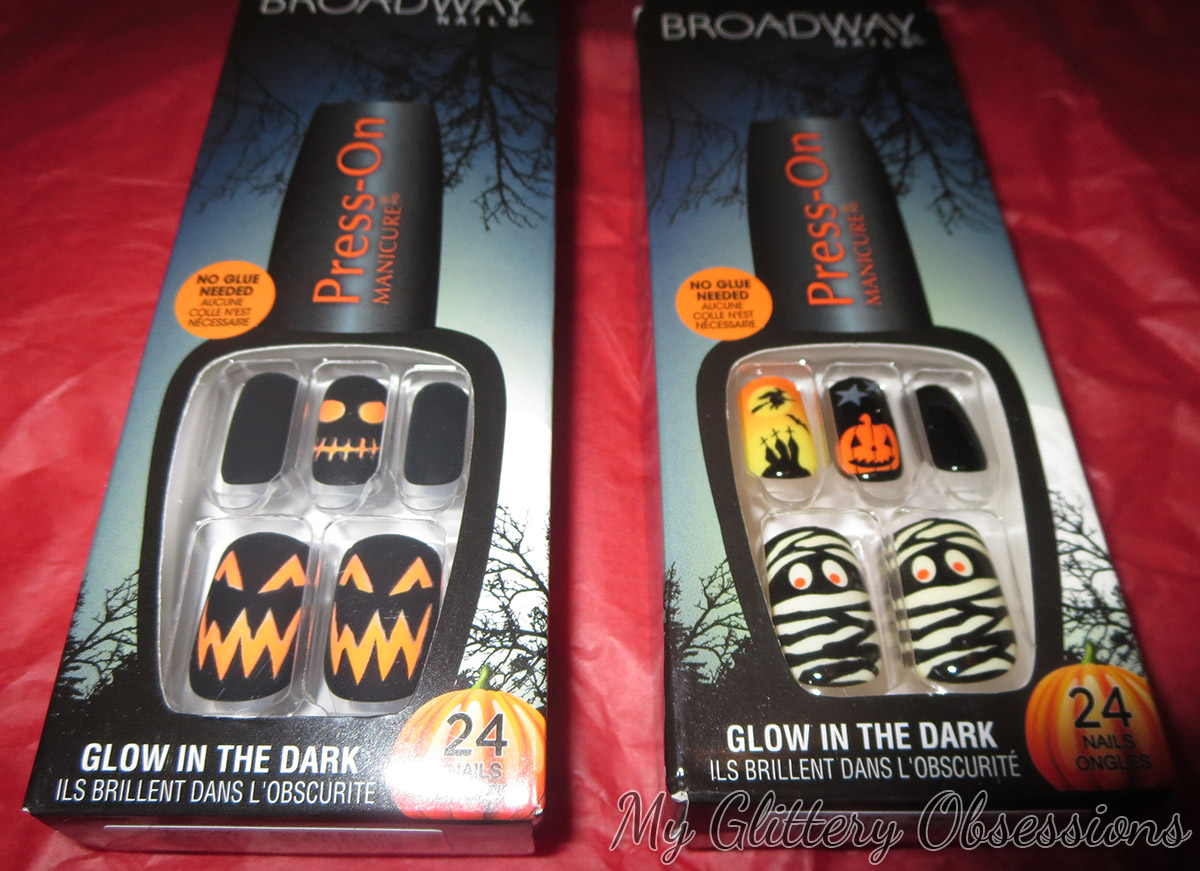
First, here are the most currently relevant things: the Broadway Halloween press-on nails. These come in a bunch of adorable and cool patterns for Halloween. I received two sets, but there is at least one more with a very cute candy corn print. The two I was given glow in the dark, as well, which makes them even cooler.

broadway halloween nails

These are very similar (if not exactly the same) as the usual KISS ImPress nails that I've tried many times before. They already have an adhesive tab applied to the back of each nail, you just pick out your sizes, peel off the plastic backs, and press them on. They're really quick and easy to use and last about a week—I've worn them up to 10 days in the past.

They're also really easy to remove; if you wear them for a full week, they may pop off on their own, or at least start to loosen, but if you only want them for a couple days they're still easy to pop back off with minimum effort or nail damage, and you can try to get a little hot water or nail polish remover under the nail if you need help loosening them.

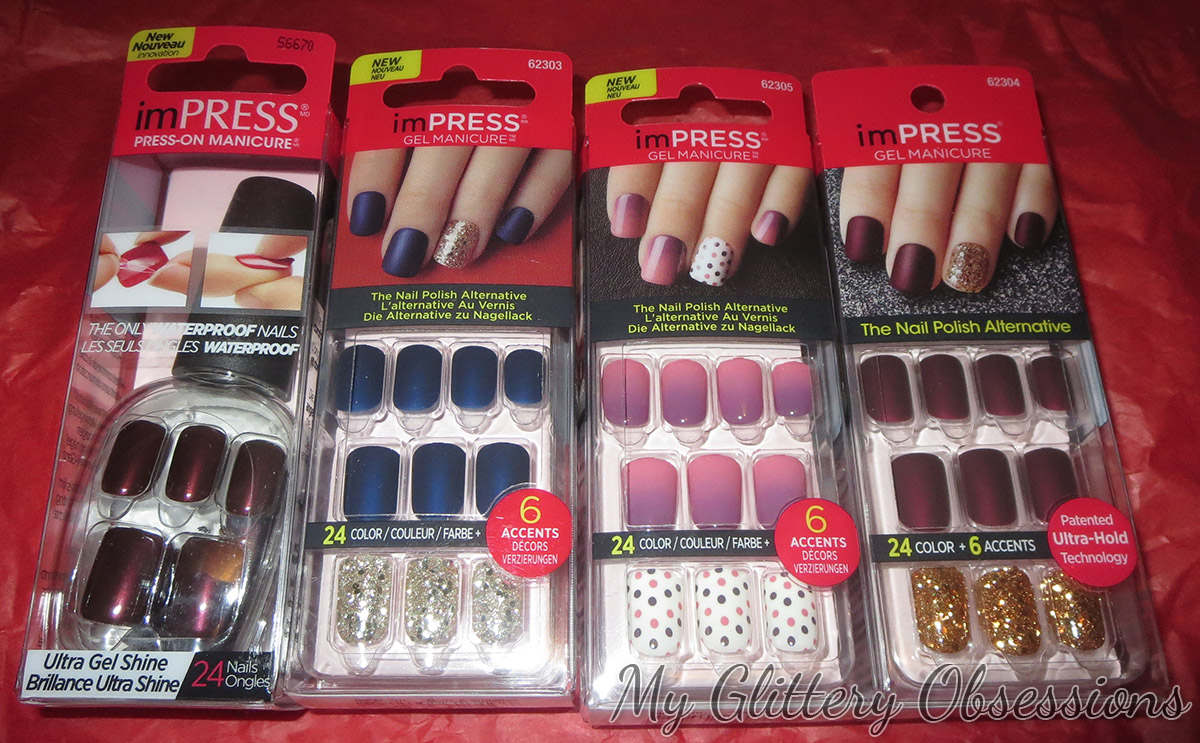
impress nails

And since we're already talking about the ImPress nails, above are 4 of the new sets hey have out for either the Fall or Holiday season. I love that these aren't super long, so they don't get in the way of your everyday life. It can be pretty hard going from naturally short nails like mine to long, glamourous nails in minutes. You have no time to adapt!

Back to Halloween...

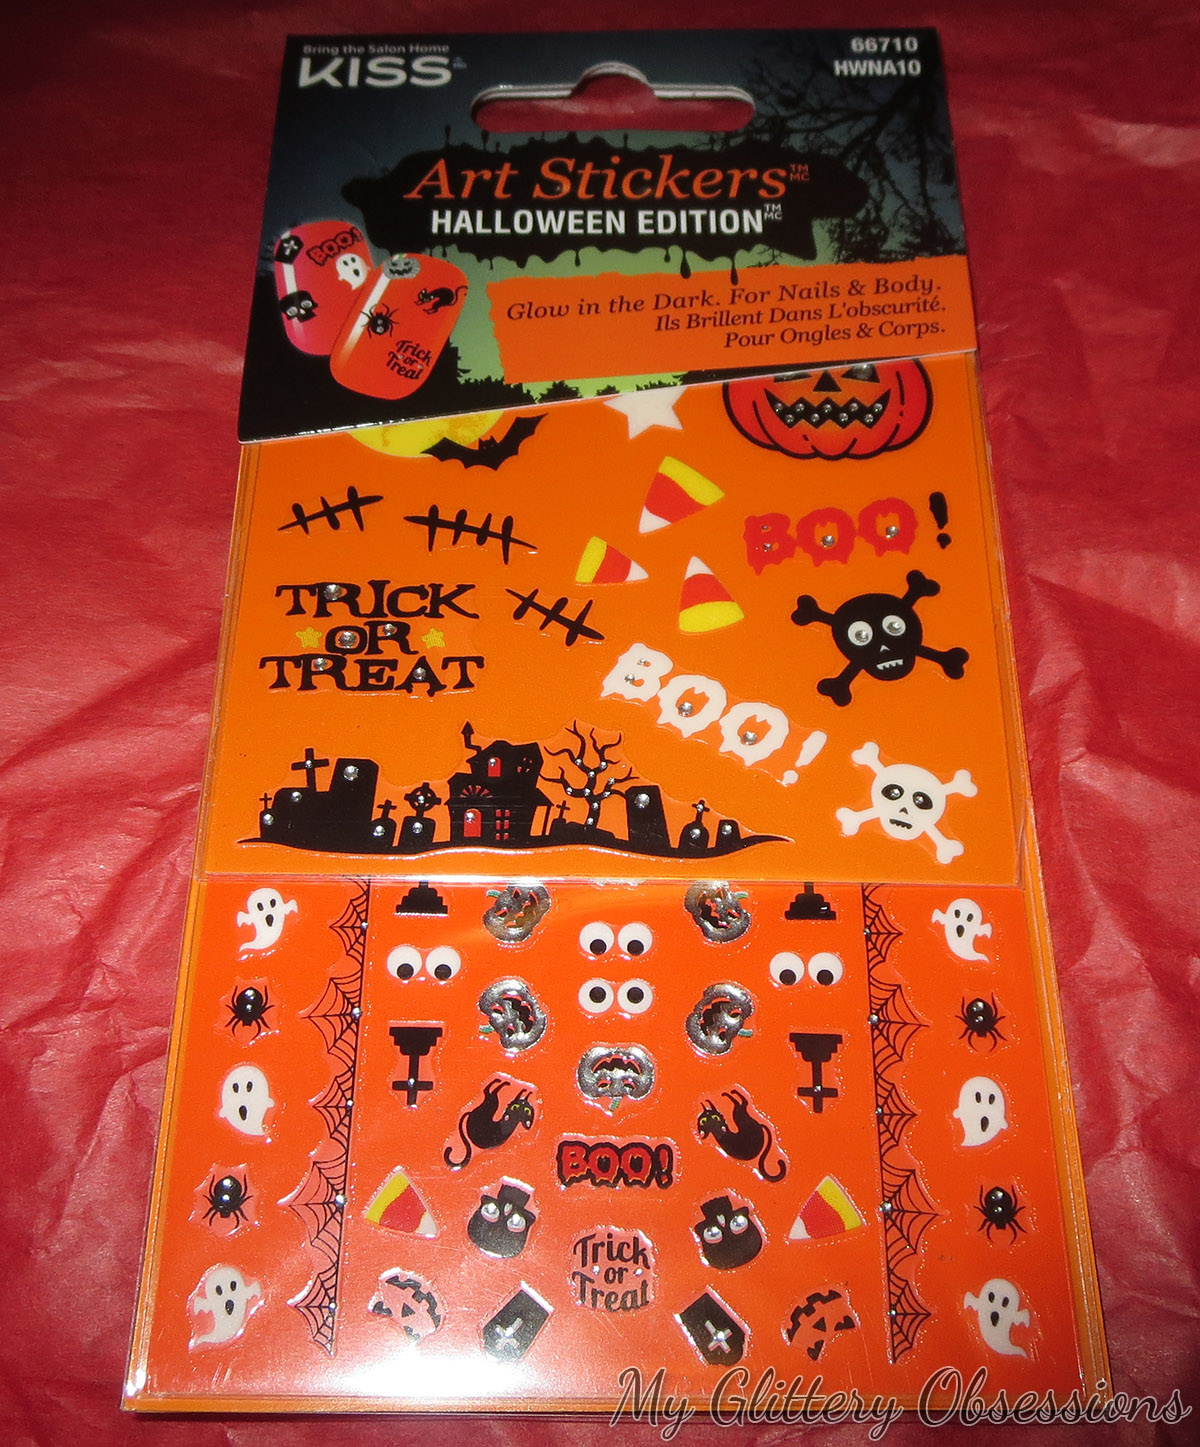
cute  halloween stickers

If you don't want or need fake nails, KISS also has some really cool nail stickers, as well as some fun Halloween nail wraps. I love that KISS gets so into the Halloween fun!

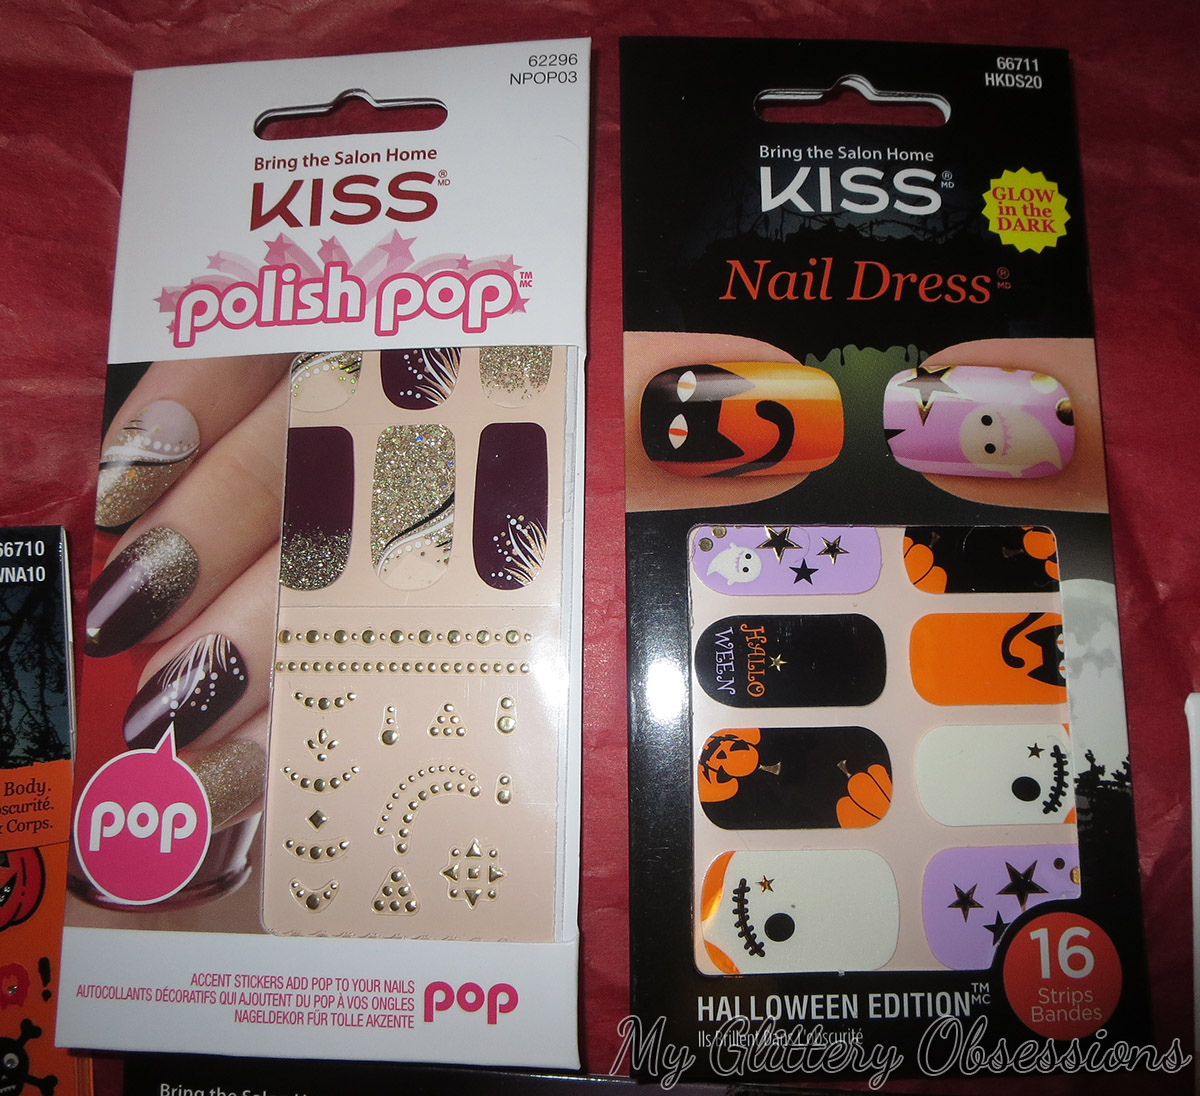
nail dresses and art sticker

Also pictured above at the polish pop stickers and nail wraps wish are meant for creating accent nails. There isn't enough of any pattern to create a full manicure from, but you can use bits and pieces to dress up your manicure (or even patch up an existing one!)

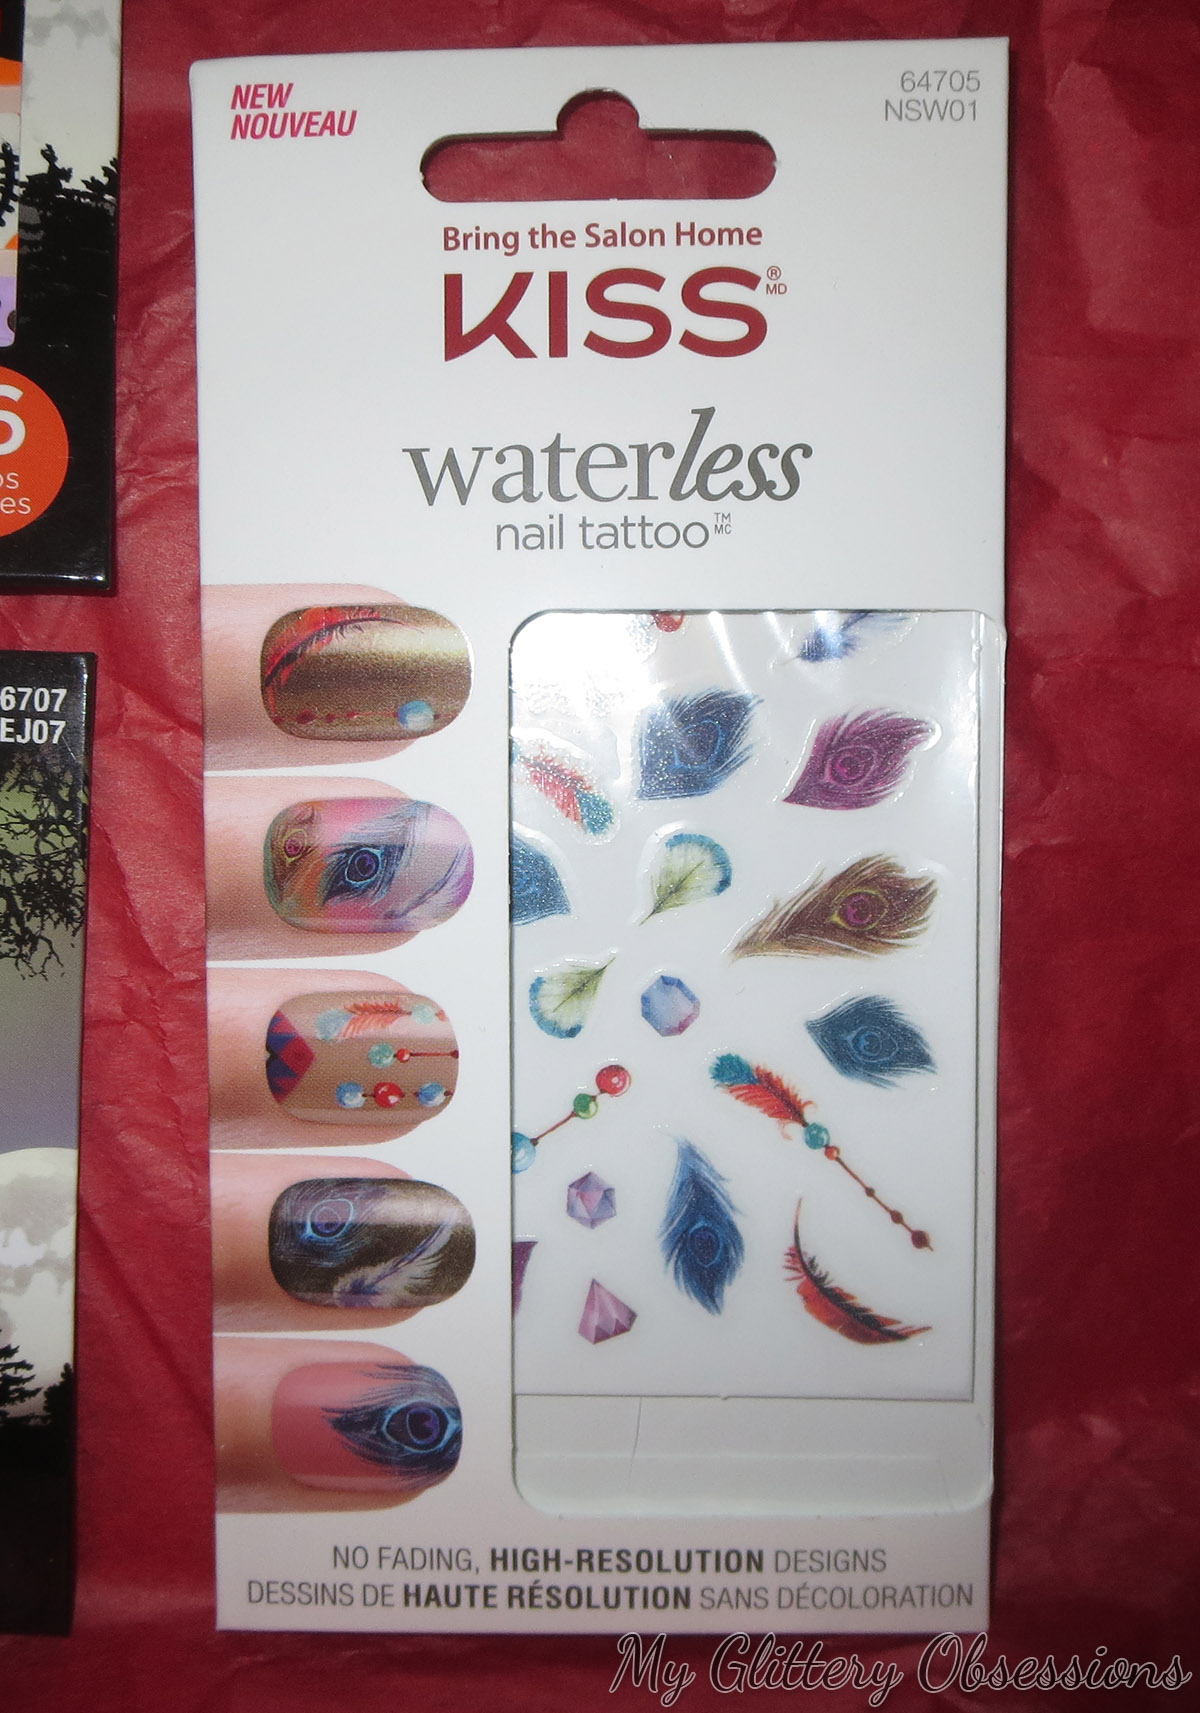
Continuing on the nail art theme, these waterless nail tattoos are also a fun way to create accent nails, or patch up chips. Or you could use them on every nail for a fun, feathery manicure that looks like you have some mad nailart painting skillz.

waterless tattoos

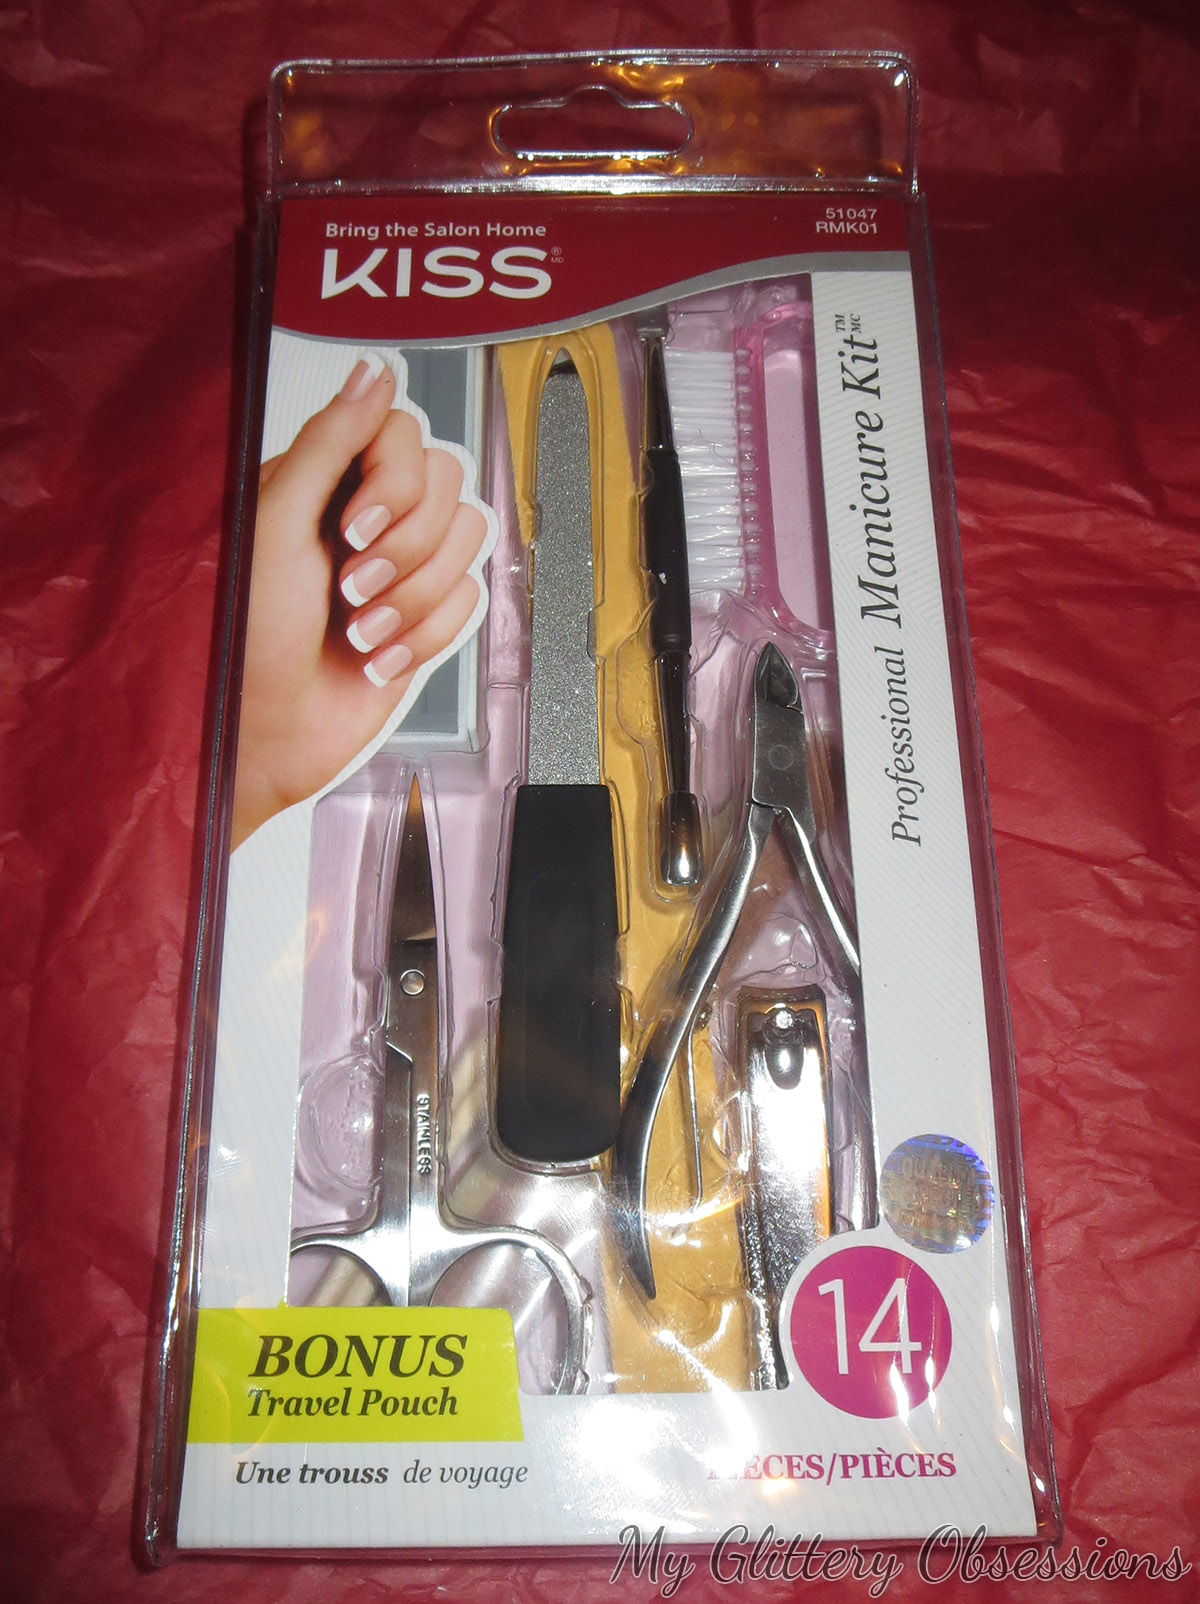
KISS also put out two really cool gift sets that would be great for this Christmas for any nail or beauty lover. The first is a great little manicure set with all the tools you need for home manicures:

manicure set

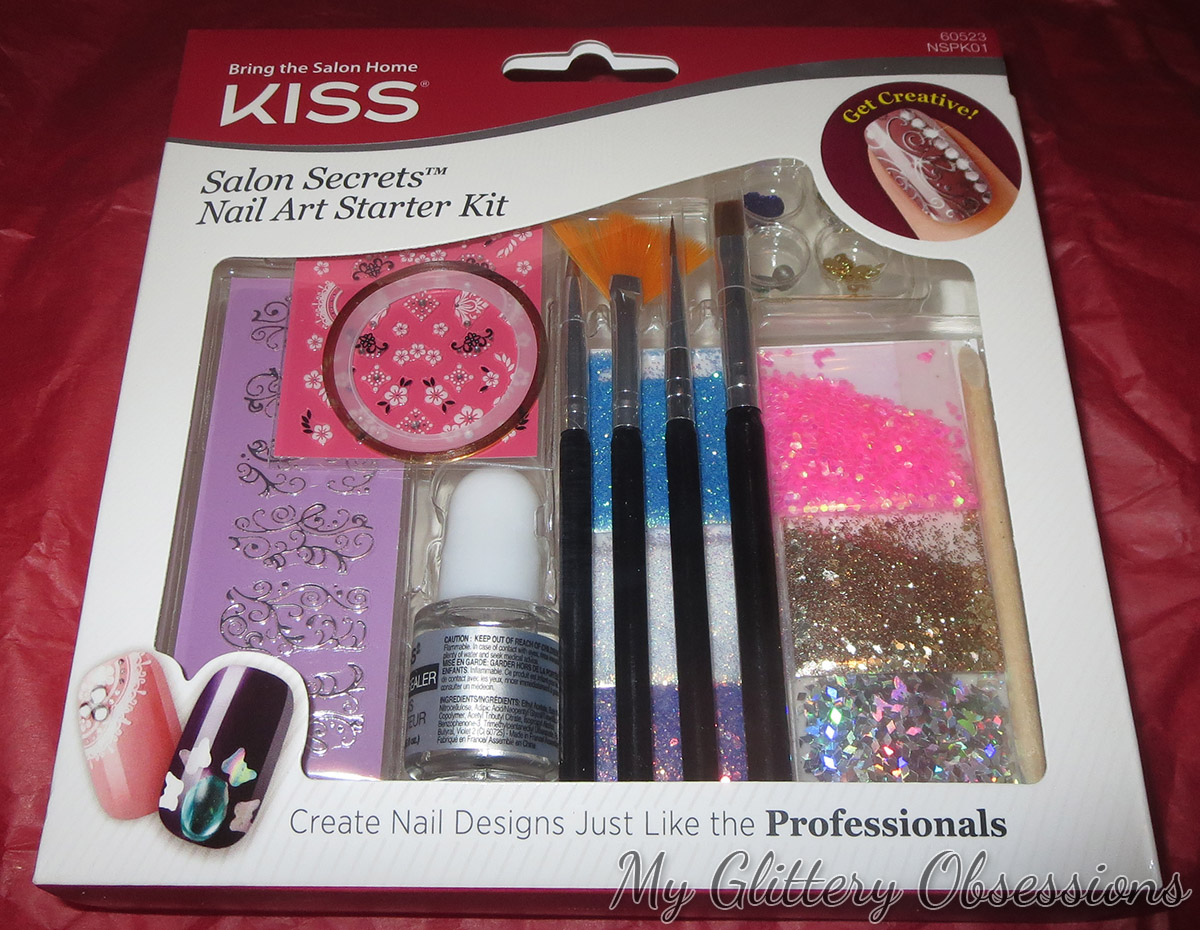
The second is a nail art kit with brushes, stickers, glitters, foil tape, and a mini topcoat/nail art sealer.:

nail art kit

This is a great little kit, and I've already used some of the glitter from it to create accent nails. I think anyone looking to get into nail art would really enjoy this kit because it has lots to play with, whether you want glitter, dots, or just good brushes to draw your own art. The long, thin striper brush and the fan brush are great for getting cool effects.

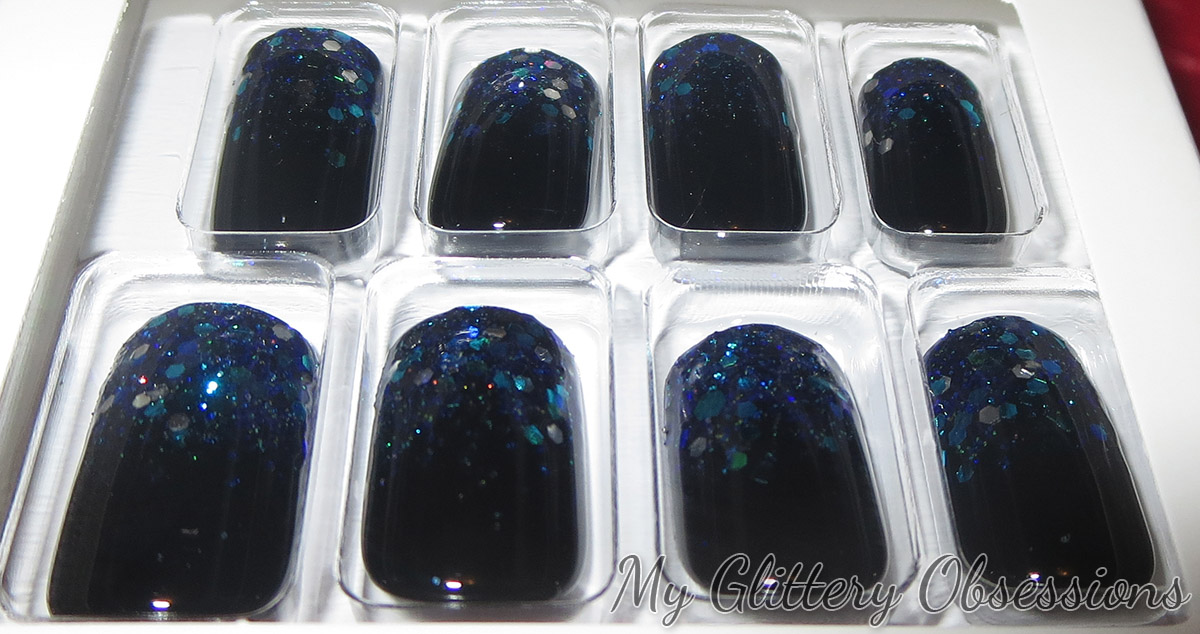
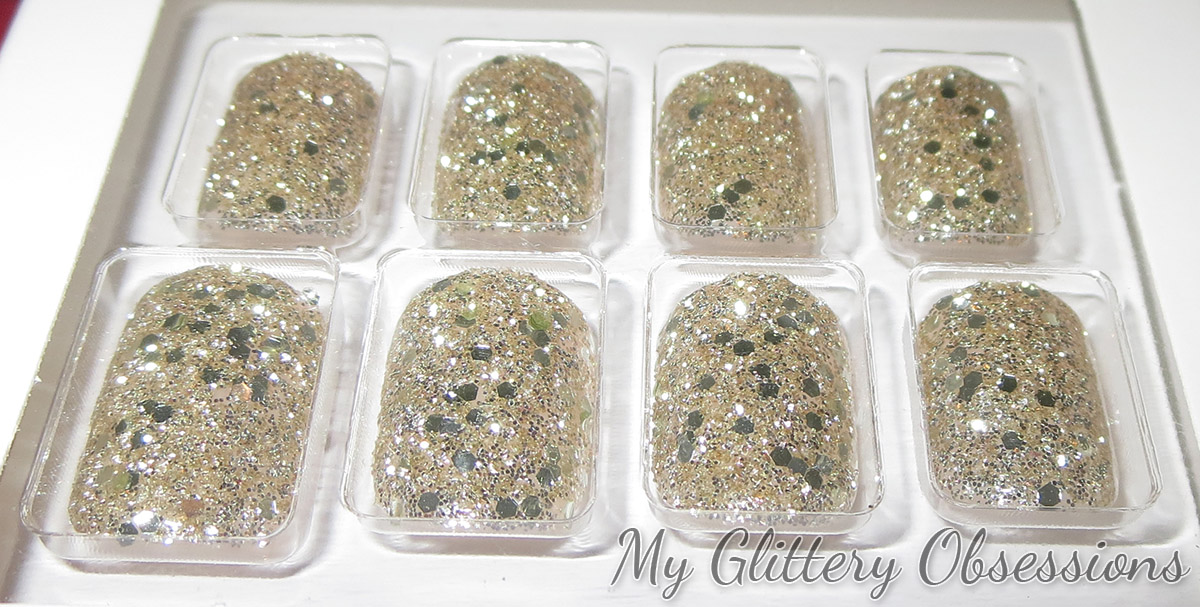
Finally, KISS has put out some beautiful Gel Fantasy press-on nail styles for the Holidays, including these two glittery beauties:

gel fantasy nails

As you can see from the picture, these come in a few different lengths, so you can pick the one that is best for your life style comfort level, or existing nails (if you don't want to have to cut down your nails to fit under the fake one, for example). I will point out, also, that these are very different from the ImPress and Broadway nails that I was talking about earlier. Those pop on easily and pop back off whenever you want. But where those are temporary, these seem semi-permanent.

These do come with adhesive tabs, which may act more like the imPress nails, though I haven't tried them, and cannot confirm or deny this theory. The way they were applied to my nails at the event was with a liquid adhesive that is included in each package. The glue is applied to the inside of the nail, as well as your natural nail, and it really sticks these nails on!

gel fantasy blue

The upside to that is that it feels much more natural to use the nails for everyday things like typing, scratching an itch, or playing with your hair. The ImPress nails can move a bit with pressure applied, and never adhere at the edges, so I find hairs can easily stick underneath and get tugged or broken. The Gel Fantasy nails don't allow those annoying things to happen, but they are also much more difficult to remove, and I do feel that they damaged my nails when I took mine off.

You've supposed to file off the shine and they soak your nails in acetone/nail polish remover to get these ones off, and I'll admit I'm a bit impatient, and did that to an extent, but also kinda just pulled them off as soon as I could, which too the top layer of nail with the fake in some places. It took my nails a couple of weeks to grow out and recover from this damage. But that said, I can still definitely see myself using them again. You just need to be careful and/or accept the consequences!

gel fantasy gold

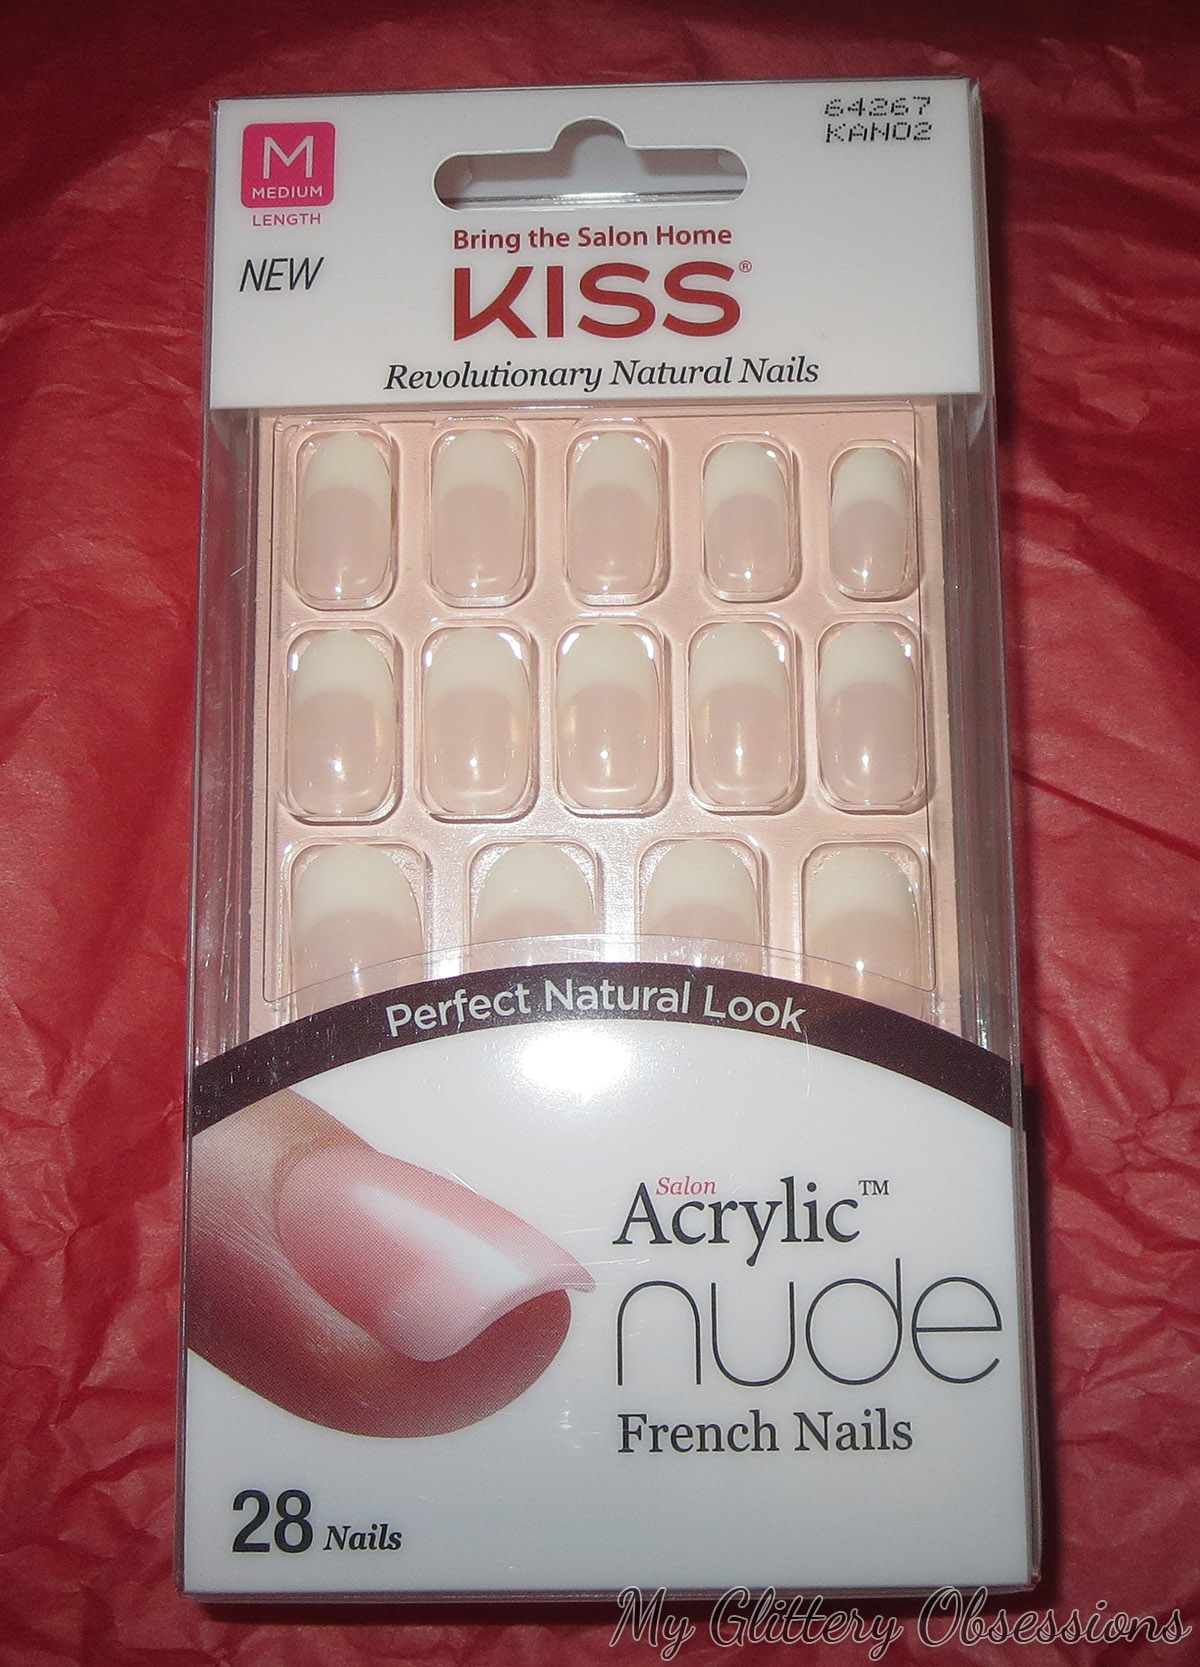
Finally, I also recieved these pretty, simple French manicure style "acrylic" nail press-ons that look to apply the same way as the Gel Fantasy nails. I haven't tested them yet, but I imagine they act the same, or at least very similarly, and really stick to your nails in the same way.

acrylic french nails

One more thing to point out about the press-on nails: part of the reason they only last about a week—whether we're talking about the ImPress, Broadway Nails, Gel Fantasy, or Acrylic Nudes—is that your nails are going to grow out in about a week to a point where it becomes less attractive and less comfortable to wear the fake nails because of the new gap at the base of your nails. I found this made my nails feel more bendy as they grew out with the Gel Fantasies, probably because more weight and stiffness was at the tip of my nail than the new growth was prepared to handle.

***

All in all, while I've said some negative things about some of the products that KISS presented and provided me with, I really do think that this brand has a lot of great things available. I'm particularly partial to their fake nails because they are so much cooler, faster, and more durable than anything I can do to my own nails. They aren't an all-the-time thing, but they are fun to play with!

You should be able to find various KISS products at WalMart, London Drugs, Target, Well.ca, and various other places that sell drugstore nail products.

Thanks for reading!

Saturday, August 3, 2013

Konad m95 Plate Review (and Contest Alert!)

Nail Polish Canada contacted me a little while ago asking if I would like to review one of the new Konad plates that they are now carrying. I picked the m95, since it has whole-nail patterns, which I’ve been wanting to try for a while. Here’s a look at the plate:

100_3001

These plates are $8.75 each at NailPolishCanada.com.

Now, before I show you my first attempt at using this plate, I want to point out a few things:

1. For stamping, you need a little rubber stamper and a scraper, as well as a plate.

2. Stamping is not as easy as it looks. It take a lot of patience and practice.

3. I am not yet very good as stamping, and far from consistent.

That said, let’s take a look at two of the patterns from this plate:

100_3006

100_3011

I think these are absolutely adorable, and the plates seem to be good quality. I have one that’s a cheaper imitation, and the pattern is a bit shallower, so it doesn’t always transfer very well. I think this one will be easier to use overall.

That said, I know from other blogs I’ve seen in the past, and from my own recent experience, that these full-nail designs won’t work for everyone! I don’t have very big nails, but I feel like anyone who has wider, or really long nails would be very disappointed with the results of these plates, since it may not cover your whole nail! For the record, these patterns are about 1.5 cm (~.5 in) wide and 2 cm (~.75 in) long.

Anyways, I’m pretty happy with my plate. If you’re interested, you can find the new plates, and more at http://www.nailpolishcanada.com/categories/konad-nail-art.html, as well as a contest at the top of the page to win the 5 new plates! The contest is, unfortunately, only open to Canadians, with the exception of Quebec. =( The winner will be contacted by Nail Polish Canada when the contest closes September 15, 2013.

Thanks for reading, and good luck to all those who enter! =)

Wednesday, February 13, 2013

My Current Nails: Valentine’s Day Nails v2.0

Look at me, getting two different nail art looks up in less than a week! My first manicure started chipping after Tuesday’s trip to the gym so obviously that was the perfect excuse to strip it off and do another themed mani. Especially since me and my boyfriend are celebrating Valentine’s Day tomorrow (today for you, most likely. February 13th)  instead of the 14th, to avoid crowds.

Anyways, here’s a look at what I did this time: Valentine Heart Leopard Print! Also, I apologize about my cuticles, they’re looking a little shredded…

Left hand:

100_2367

100_2368

Right hand:

100_2370

100_2371

Thumbs:

100_2372

100_2373

I used:

  • China Glaze in Fast Track as a base colour
  • ELF in Bubblegum Pink
  • Butter London in Chancer
  • LA Colors black striper

I hope you all have a very happy Valentine’s Day, whether you’re single or have a boyfriend or girlfriend! Thanks for reading!

<3

Sunday, February 10, 2013

My Current Nails: Valentine’s Day Edition

No, I know it’s not Valentine’s Day yet, however, it has been a really long time since I last uploaded a nail polish post, and even longer since I showed you any nail art. If I’d done any, you’d have got to see it, but I’ve been keeping it pretty simple lately. Just the other day, though, I did do my first Valentine’s mani of the year, and I’m absolutely in love with it, so of course I had to share:

Left hand:

100_2302

100_2303Right hand:

100_2306

100_2307

For the base colour, I used a soft, shimmery unnamed pink polish from Ardene, and for the hearts and dots I used my neon pink LA Color striping polish with one of my tiny paint brushes. And, of course, it’s all topped off with a coat of Seche Vite.

I hope you like these, and if you take inspiration from them for your own nails, I’d love to see how yours turn out!

Thanks for reading!

Wednesday, January 16, 2013

Broadway Nails imPress Press-on Manicure Review

A couple days ago, I showed you that I won these press-on nails in a contest, and I wanted to do a separate post to tell you more about my thoughts on those.

100_2046

The back of the package, and also the instructions:

100_2047

Pretty straightforward. One great thing about these is that they already have the adhesive on them, and so you just have to figure out what sizes fit your nails, pull off the plastic backings, and stick them on! Also included in the box is:

100_2048

This is basically just a little pad with alcohol to get any extra dirt or oil off your nails to make sure that the nail sticks properly. Just make sure to let your nails dry before you try to apply the press-ons, otherwise it’s not going to work.

100_2050

They also include this mini nail file, maybe for shaping either your nails or the false ones, or for smoothing out the top of your nails. I’m not sure, since it doesn’t say. I didn’t really use this, but I’m sure it could be useful for some people.

And here is the adorable packaging inside:

100_2051

100_2053

100_2054

I think it’s so cute that it looks like a big nail polish bottle!

And here’s what the nails look like:

100_2055

If you look really closely, you can see the plastic tab coming out from under one side of the nail. This is to show you which end points towards your cuticle, and also to make it easier to get the plastic off the adhesive.

And, here they are on:

100_2059

100_2060

If you look too close, you’ll see a couple of my nails are a little crooked. This is something to watch out for, since, once they’re pressed in place it isn’t easy (read: next to impossible) to get them off again. The one that I did peel back off to set straighter never re-adhered properly, and ultimately was the first one to come off.

And here’s a look at the length compared to the length of my nails at the time:

100_2063

These were pretty long, but definitely still functional. My biggest issue with false nails is that my nails are very curved, and often falsies pinch or pull on my nail bed. For some reason—even though these weren’t the same shape, and often were either too wide or not wide enough for my nails—these didn’t do that. They were actually perfectly comfortable, and did last almost a whole week for me. The only irritating thing about these was that when I ran my fingers through my hair for any reason, hair would get caught under the edges close to the cuticles. This makes hair washing pretty annoying! It’s possible I didn’t get them close enough to the cuticle, but for the most part, I think they are, so I think it’s a fault in the nails, not in my application.

Overall, I would like to be able to say I would purchase these for another time. Before I realised they were usually very short, I thought they’d be great for nail-meltdowns, when I just seem to be breaking everywhere and need pretty nails. However, while sometimes I get some bad splits and breaks, I rarely loose so much of my nail that the regular imPress nails would cover my natural ones. Very disappointing! They need to make a longer version!

And, finally, I wanted to show off how I dressed up these simple black nails for New Year’s Eve:

100_2127

100_2128

100_2130

I did a holographic glitter gradient. A quarter of the way down, I did a coat of my holographic topcoat. Then I used my LA Colours holographic glitter for one coat from half-way down the nail, and then at three-quarters. I love the outcome; it’s like I dipped my nails in crystals or diamonds! I know I’ve done glitter gradients before, but somehow I’m always so astonished at how easy it is to do something so stunning!

Also, while I’m annoyed at the shortness of the regular nails from imPress, and will likely never repurchase them, I can see how they could be great for people who just can’t grow their nails long. If you wanted just a little extra length without it being so long that it’s hard to deal with, these would be great, and (if I remember correctly) they come in simple colours, French tips, and crazy patterns, so there are lots of options!

Let me know if you’ve tried these nails out, and what you thought of them. Thanks for reading!
LinkWithin

Related Posts Plugin for WordPress, Blogger...