Hey guys, long time no talk! I'm trying my hardest to get back on track right now, but it's taking some work...
But that's not what today's post is about! Today I have a quick, short review for you and a giveaway for the first 10 people who read this and want these vinyls! Thanks so much to Nail Polish Canada for sending these for me to review and including me in their giveaway promotion! For more details on how to get your free vinyls, stick around until the end of this post!
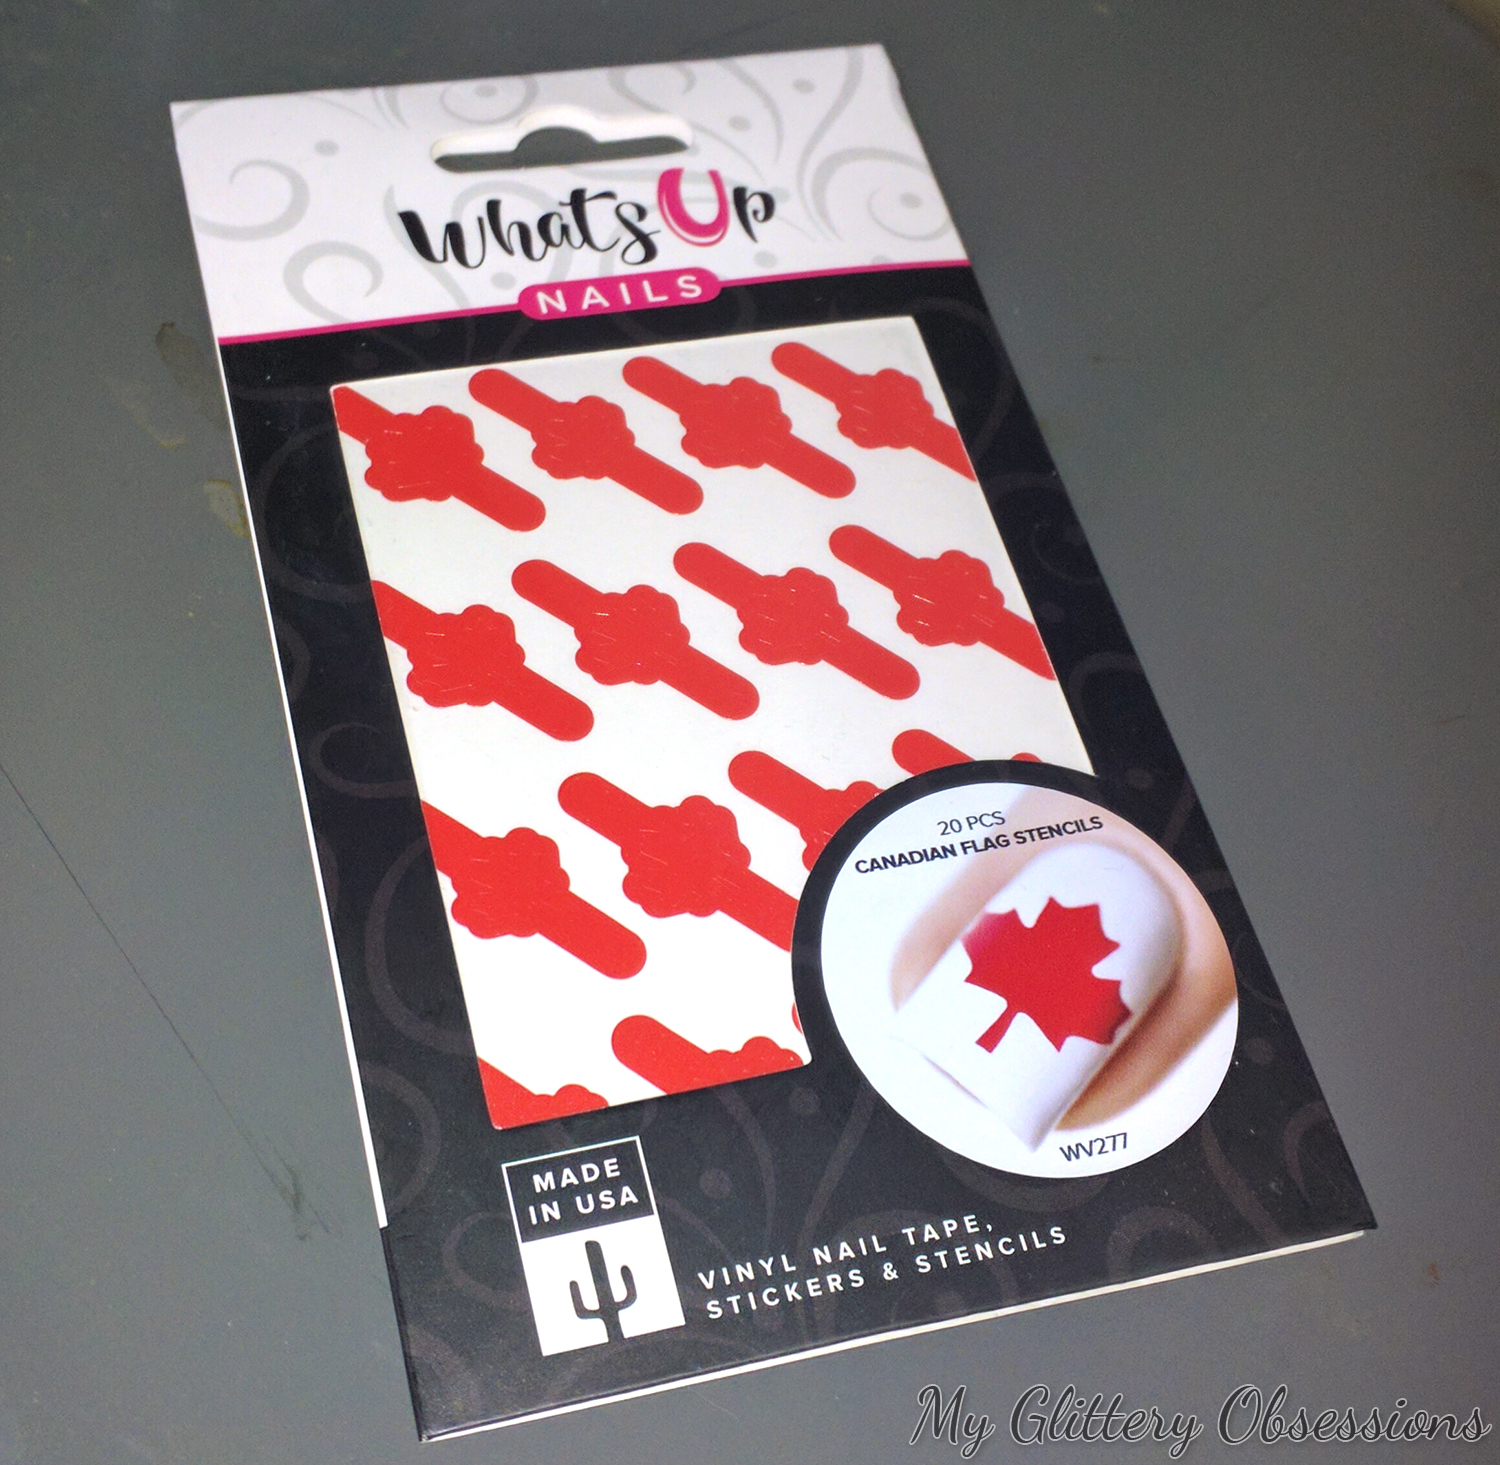
First, I wanted to share my quick thoughts on these guys. I also ask you to forgive my atrocious nails; my new job (Starbucks barista) doesn't allow nail polish at all and I spent a lot of time washing my hands, using cloths soaked in sanitizer, and washing dishes, so my nails have seen better days. Not all of us can have stunning Instagram-ready nails, I guess. Anyways, here's a look at the vinyls I keep talking about:
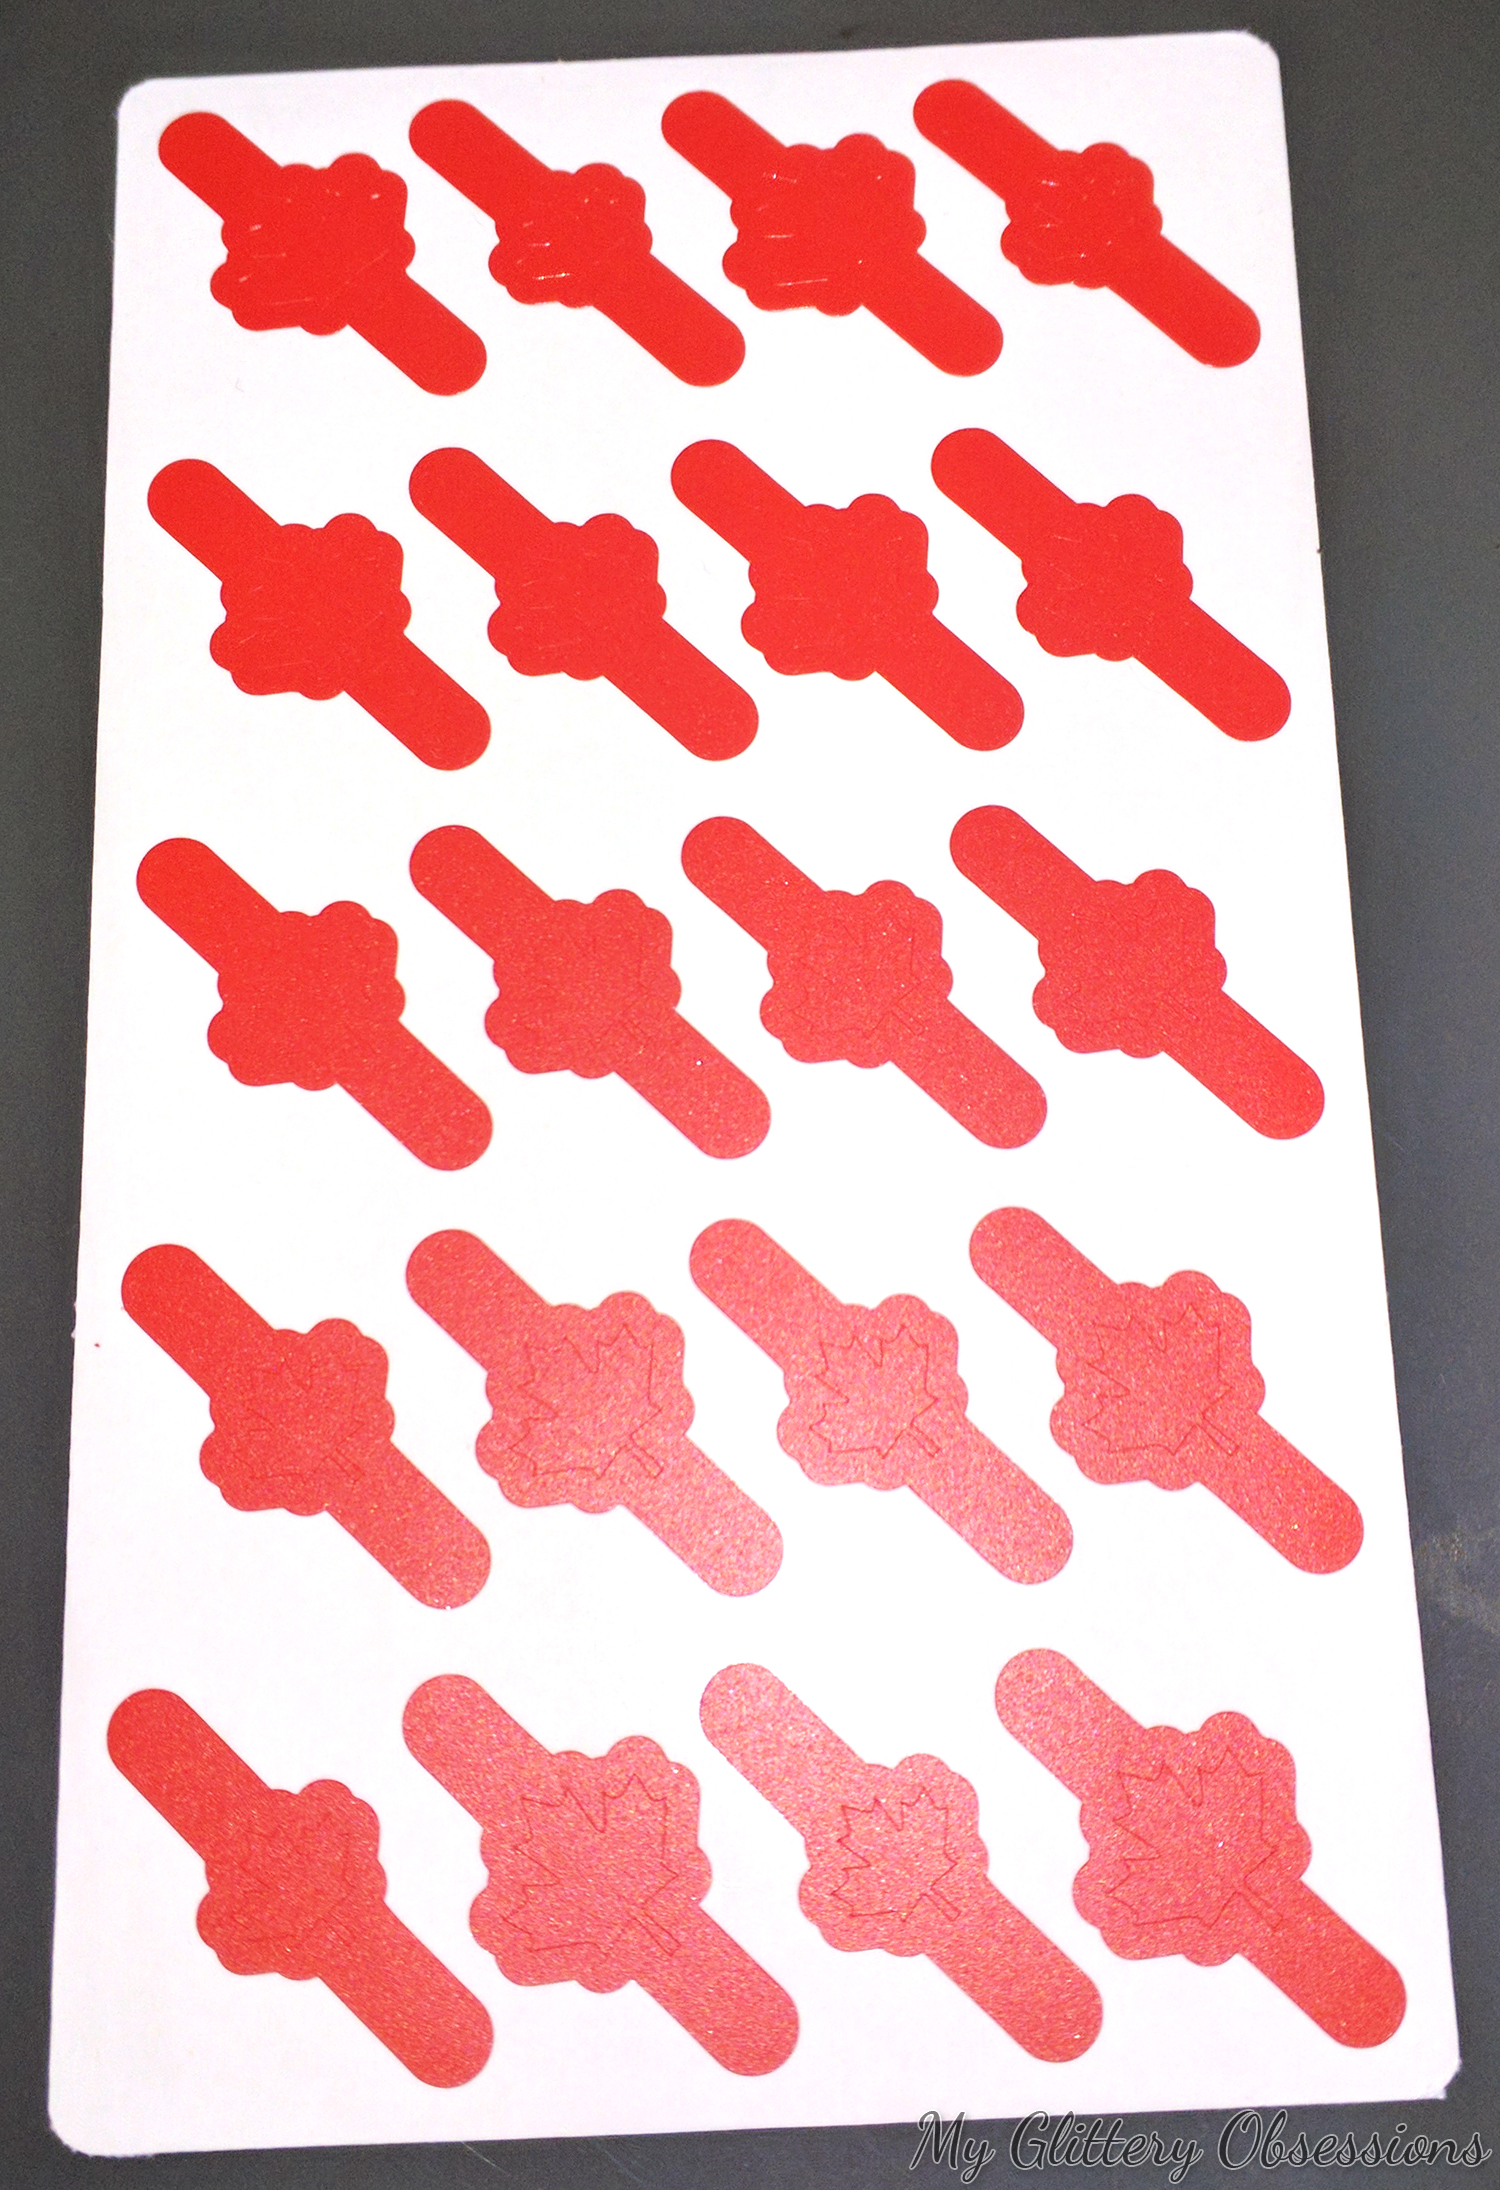
As you can see, these vinyls from What's Up Nails come with 20 stencils of various sizes, as well as 20 maple leaf stickers. And as the back of the package suggests (and I'll demonstrate later), you don't have to waste those maple leaf pieces: they make cute nail stickers!
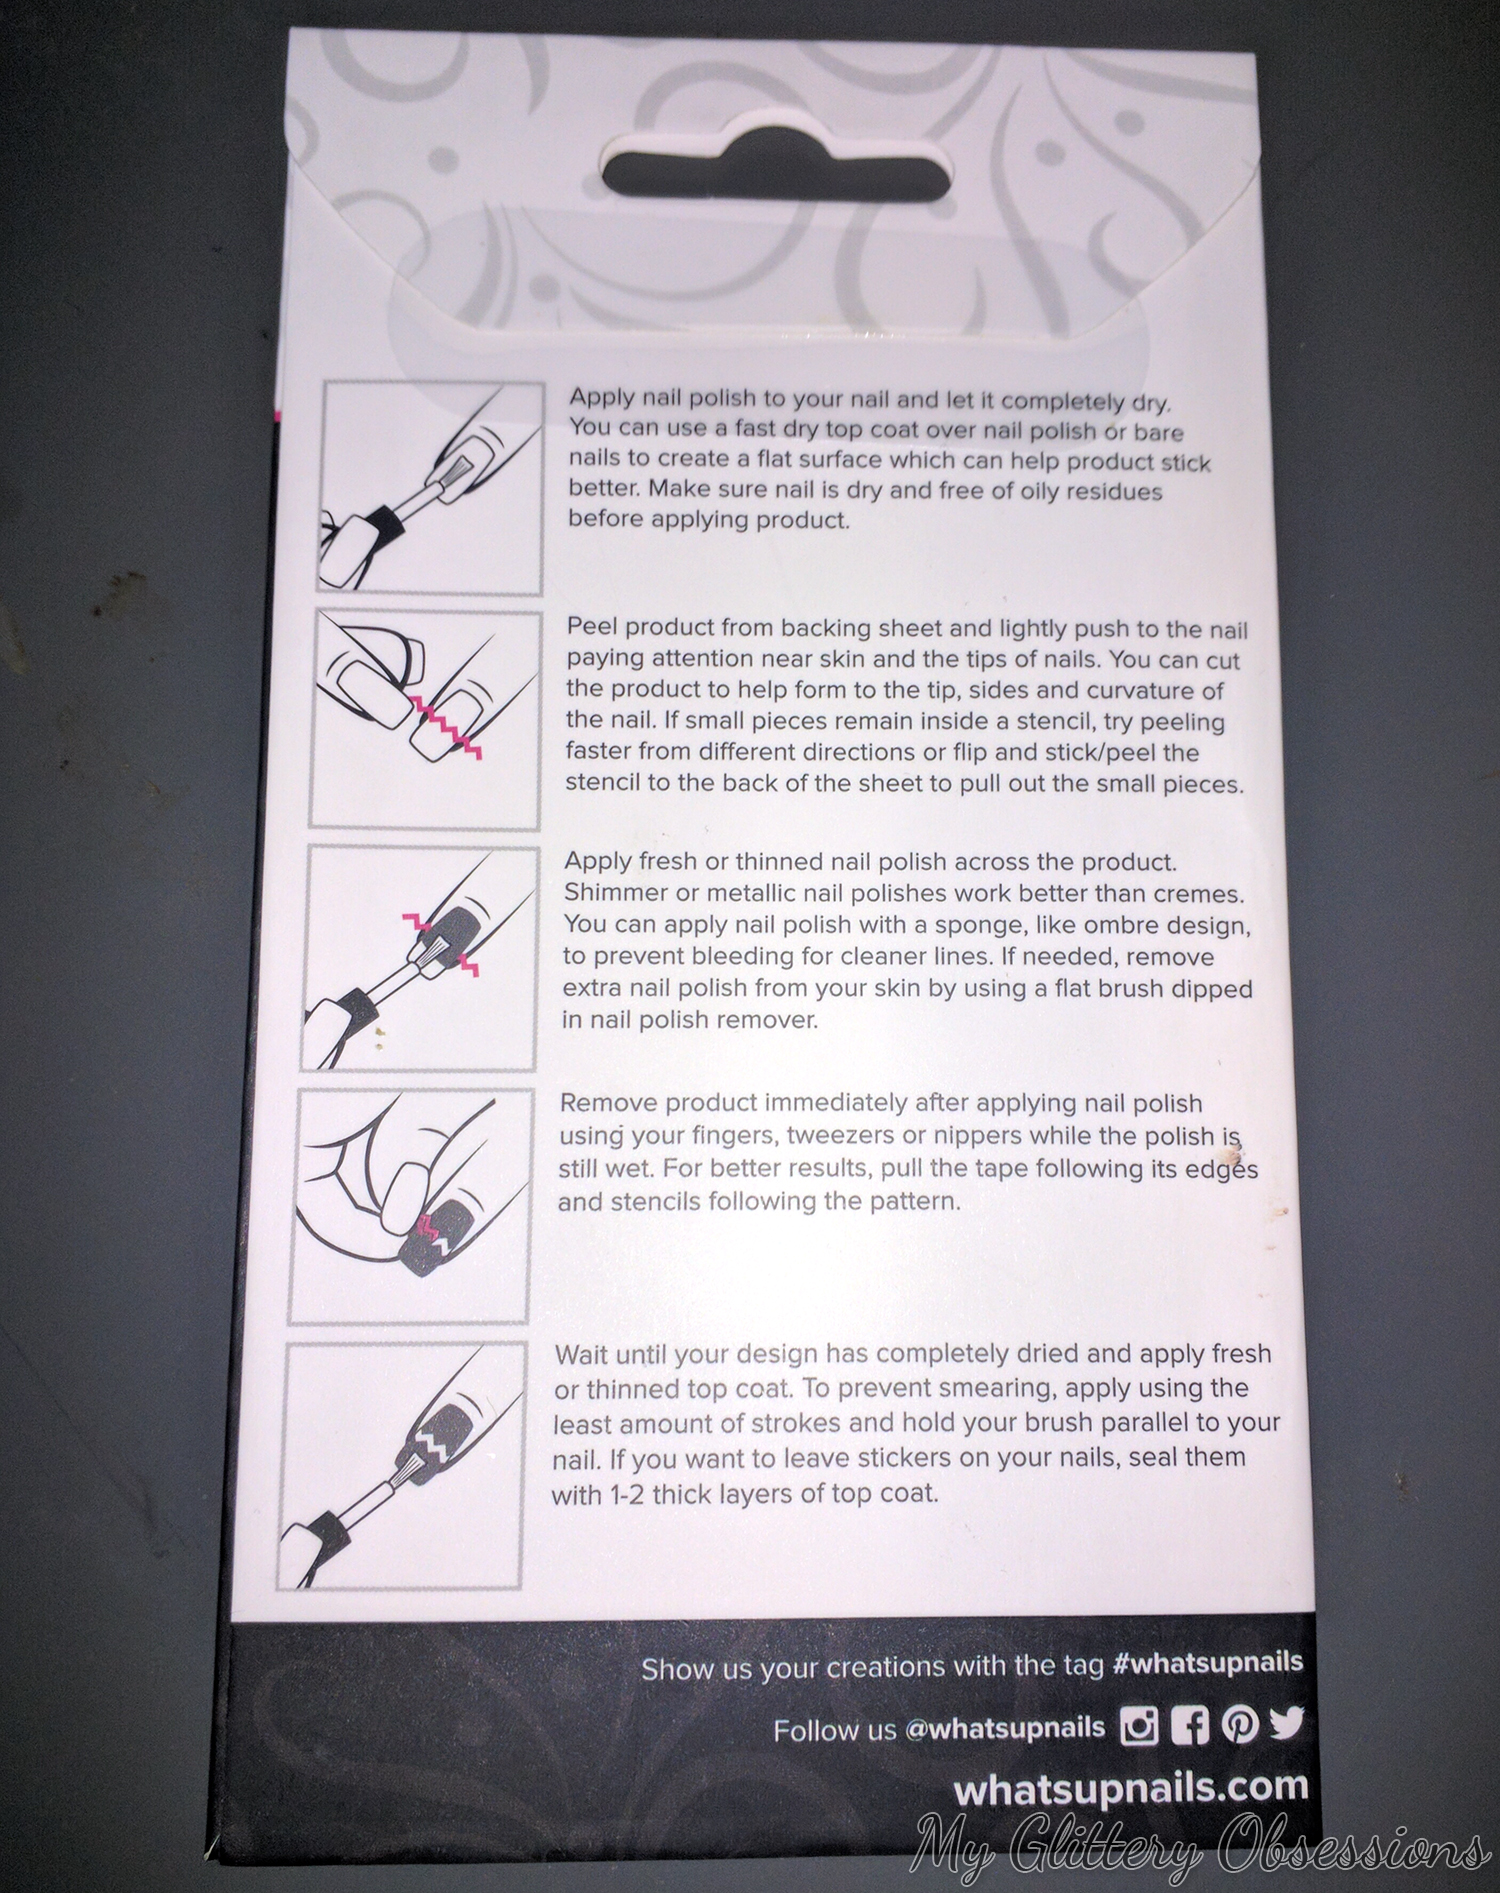
I love that this packaging gives you detailed instructions on how to use these properly, because not everyone has any clue how nail polish and nail art works. And in my impatience to get this post together I even made the mistake of not letting my base polish dry before using the stencil... So please... LET YOUR BASE POLISH DRY COMPLETELY... It will save you tears and nail polish!!
Once your base is dry, select the right size stencil for your nail size, position the sticker how you want it on the nail without any rippling or bubbling so you'll have clean lines, carefully fill the stencil with a thin layer of your chosen polish, and remove the stencil immediately.
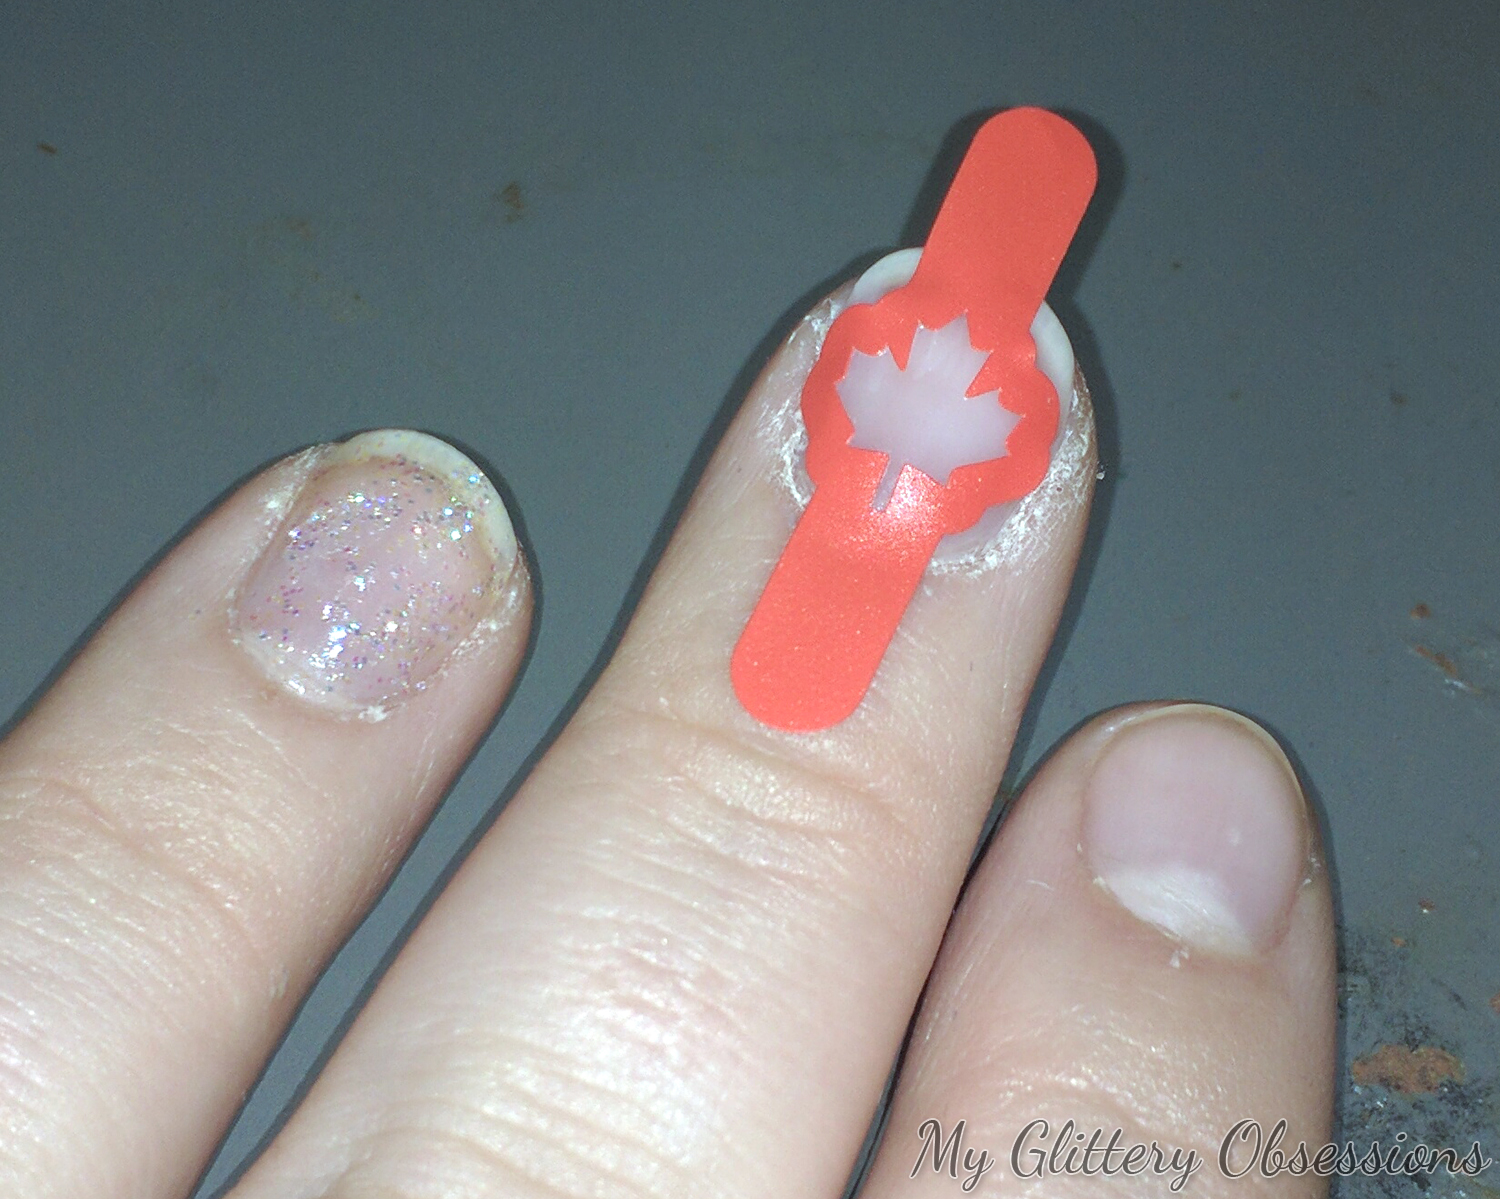
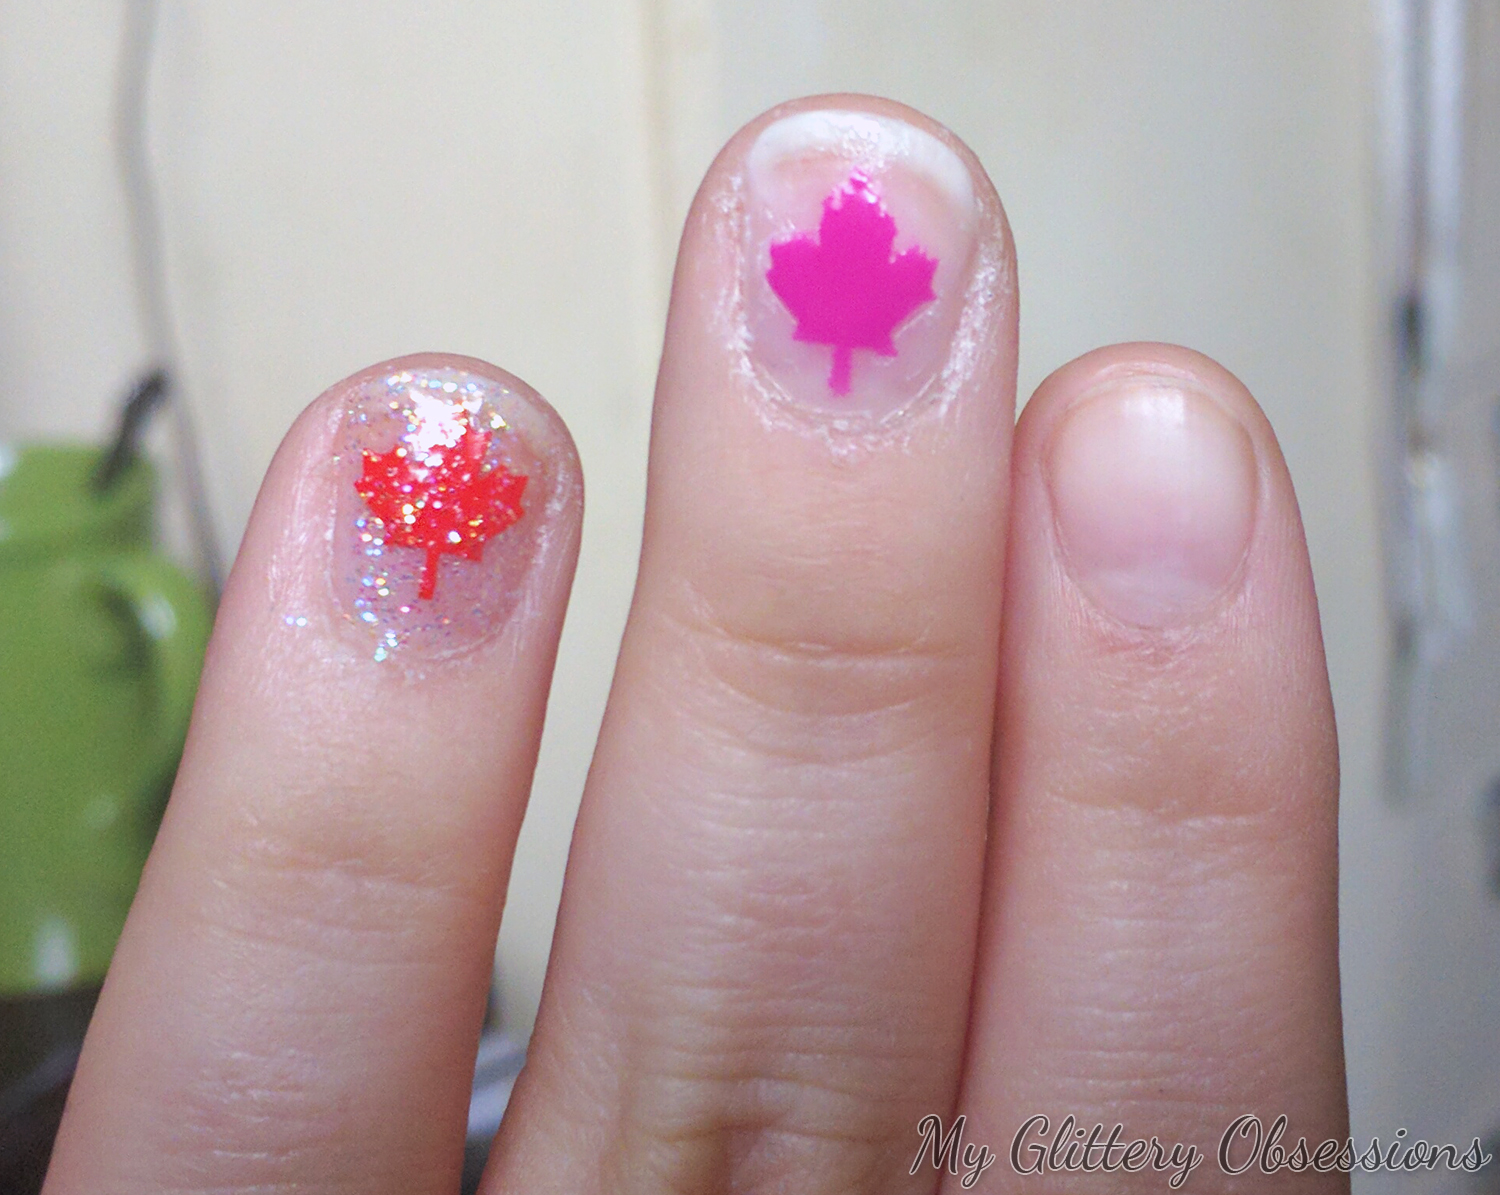
If your polish wasn't dry before you put down the stencil, it will pull away some of that base when you peel back the stencil, which sucks... You can see an example of this below. Sometimes it is much worse, and sometimes (like this time for me), it's mostly saveable with a nice layer of topcoat. But DO NOT put on your top coat until the design is dry, or it will streak! As I mentioned, you can also use the maple leaf shapes as nail stickers, which you can also see below. You'll just want to make sure to remove any bubbles and that the edges are laying flat against your nail before you put on a topcoat to seal it to the nail. The package suggests 2 good layers of topcoat; I used a layer of my glittery base and a quick-dry topcoat, and can't feel the edges or corners on the leaf, which is my biggest gripe with most nail stickers!
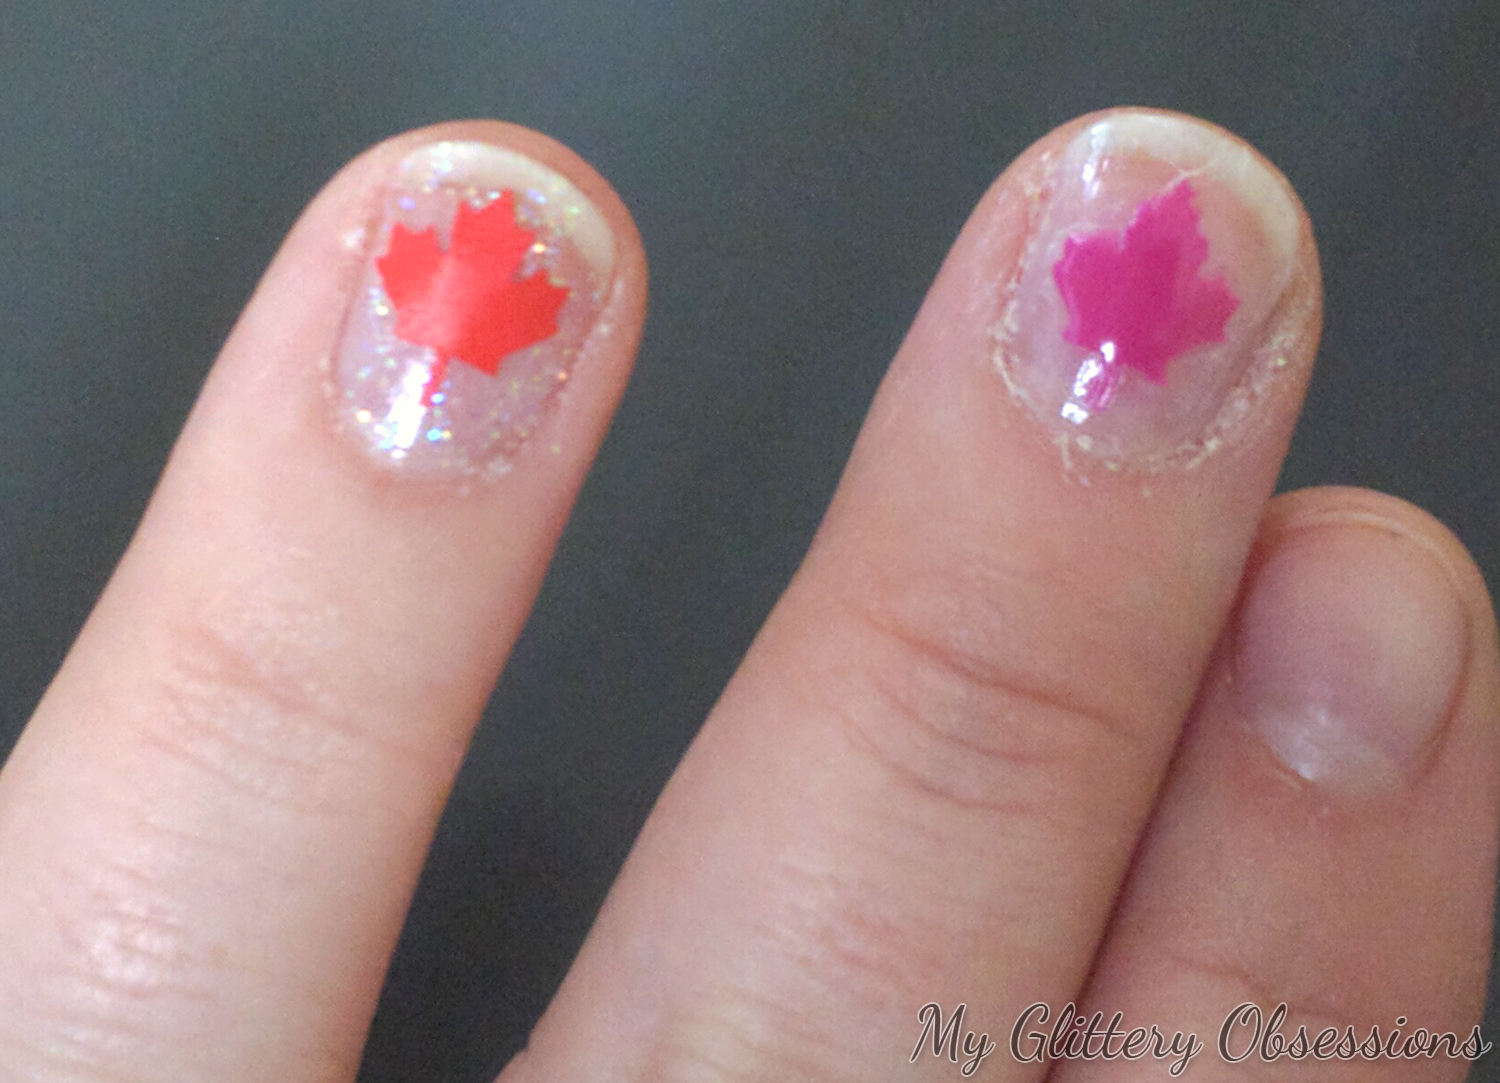
I figured everyone would be doing some form of the basic red and white for their reviews for this promotion, so for something a little different I went with this magenta over a sheer white base, and I actually really like how it turned out! So don't be afraid to mess around with colours for something unique if you're doing Canada Day nails... if you have these stencils, you already have the shape down right, it will be recognizable even if you do it in, say, your hockey team's colours instead of red and white!
***
If you want to get your free Canada flag vinyls, you can go to http://www.nailpolishcanada.com/products/free-canadian-flag-nail-vinyls-1-sheet-20-stencils-by-whats-up-nails.html and use my code: O3Y5CUGSOGP. The code will work for the first 10 people to use it. In the case that all my codes are used, there is a list of other bloggers with special codes on that page, so make sure to see if any are still available before giving up!
If all the codes are gone, but you still want the vinyls, or if you prefer spending money to getting free things, you freak, then they only cost $5.65 CAD, and can be bought here.
Don't forget to let me know if you use my code! I'd love to hear what you think of these vinyls; personally, I'm pretty impressed with the quality!
Thanks for reading!


